How to Host an Epic Kids Painting Party (Without Hiring a Pro)
For our daughter’s 10th birthday, she requested a painting party—and it was the perfect idea! I knew right away that I wanted to do a step-by-step painting activity. Below, I’ll walk you through how we set up the party, made the DIY decorations and treats, and stayed on budget while hosting a painting party to remember.
This post contains affiliate links. As an Amazon Associate, I earn from qualifying purchases. This means that at no extra cost to you, I may earn a small commission if you make a purchase through one of these links. I only recommend products I genuinely love and think you will too!
Planning a Budget-Friendly Painting Party
Like many families right now, we’re being mindful of our spending. But throwing an unforgettable birthday was a top priority for me, so I dove into planning mode. With a little creativity and resourcefulness, hosting a painting party on a budget is totally doable.
Guest List & Painting Party Kit
Since we were hosting the painting party at home, I wanted to keep things manageable. I capped the guest list at seven kids, plus the birthday girl, which worked perfectly with the painting party kit I found on Amazon. It included eight tabletop wooden easels, 8×10 canvases, paint sets, palettes, and brushes. I’ve linked it below for easy reference.
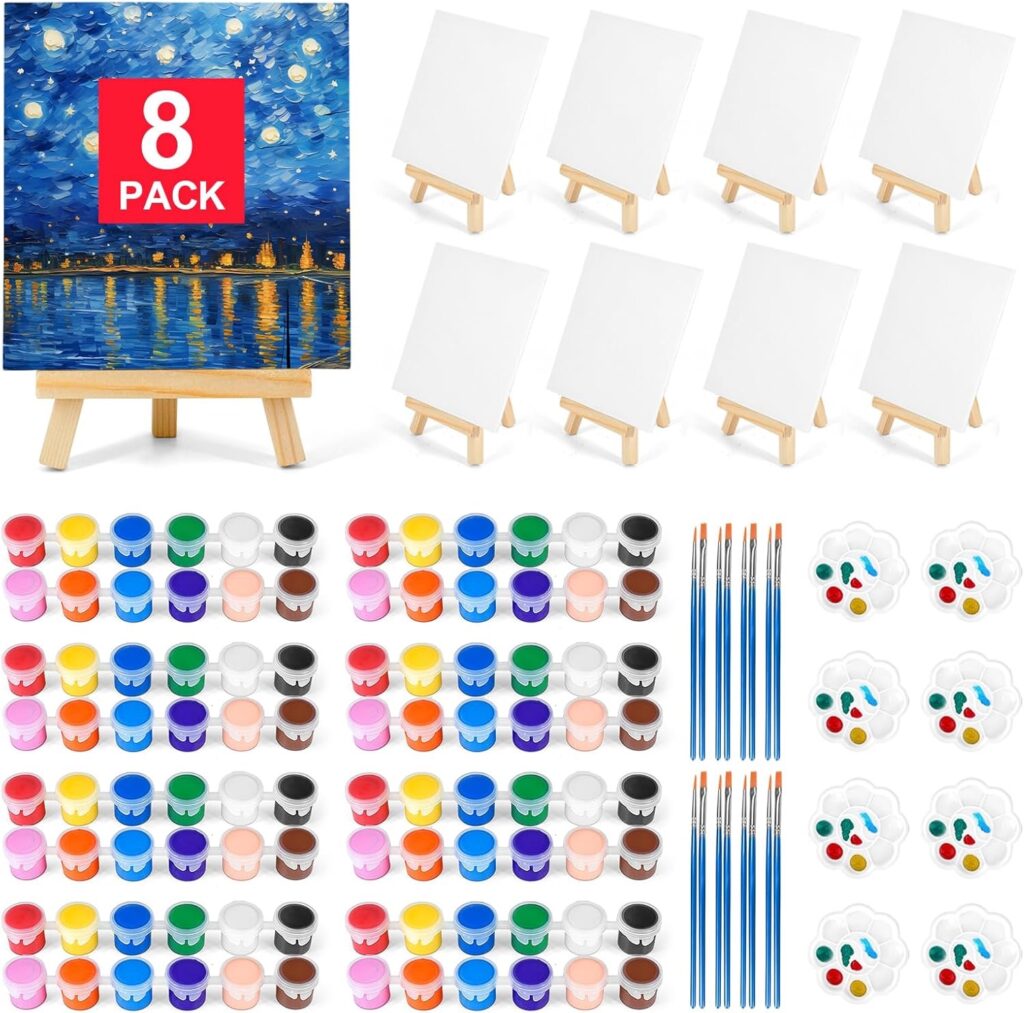
Click here to find this kit on Amazon!
I also picked up some larger paint brushes from the dollar store to complement the kit. The kids needed a bigger brush for the painting we had planned, and these worked great.
Painting Party Setup
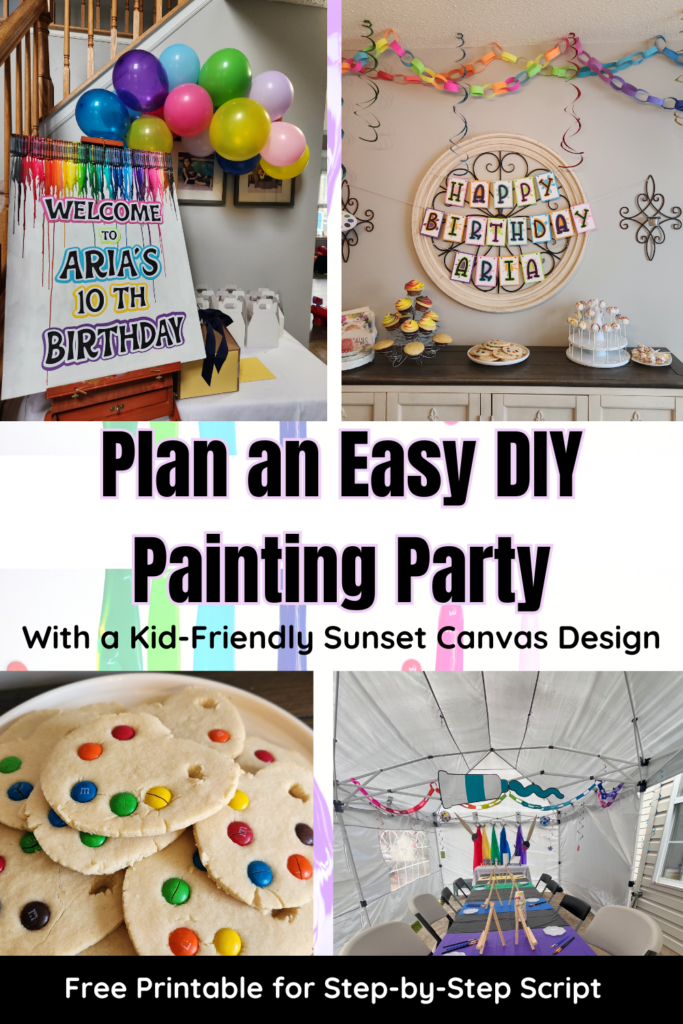
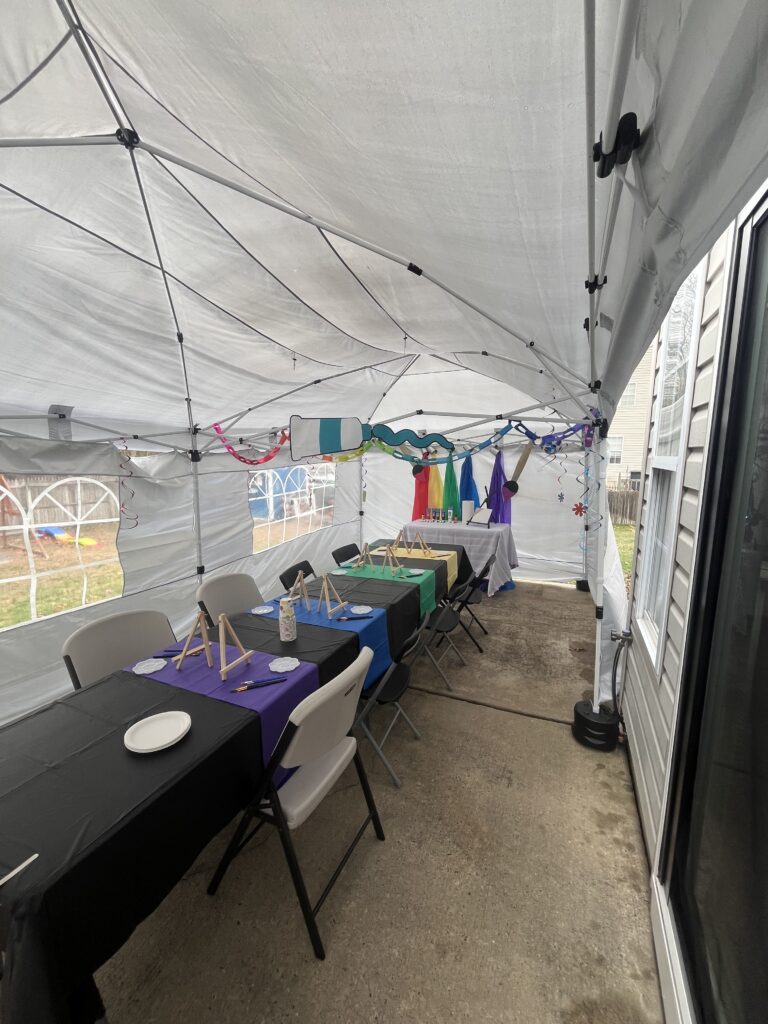
April weather can be unpredictable, and sure enough—it rained! But we were prepared. We used our 10×20 ft tent to cover the patio. (We love this tent—linked below—it even has attachable walls, making it feel like an extra room!)
Click here to find this tent on Amazon!
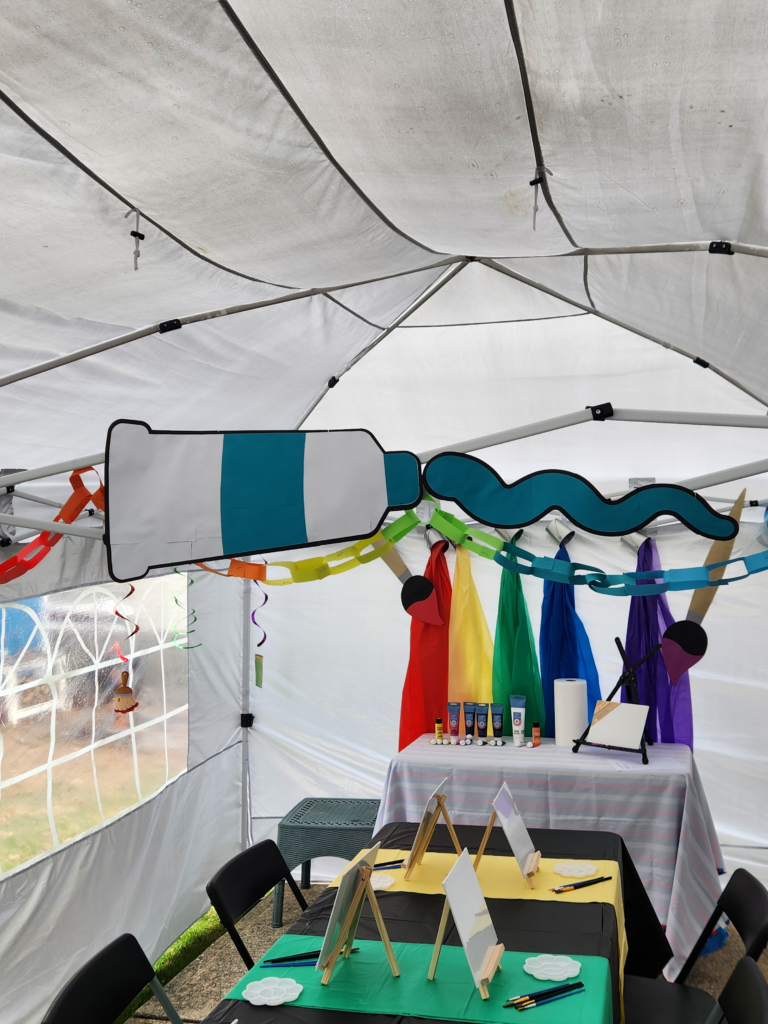
Setting up two 8ft folding tables end to end for the kids’ painting stations, and a 4ft table at the front of the tent for my instructor setup. I used dollar store plastic tablecloths, which were perfect for messes and made cleanup easy—just roll everything up and toss it. Any parent knows, quick cleanup after hosting a painting party is a major win!
Step-by-Step Painting Activity
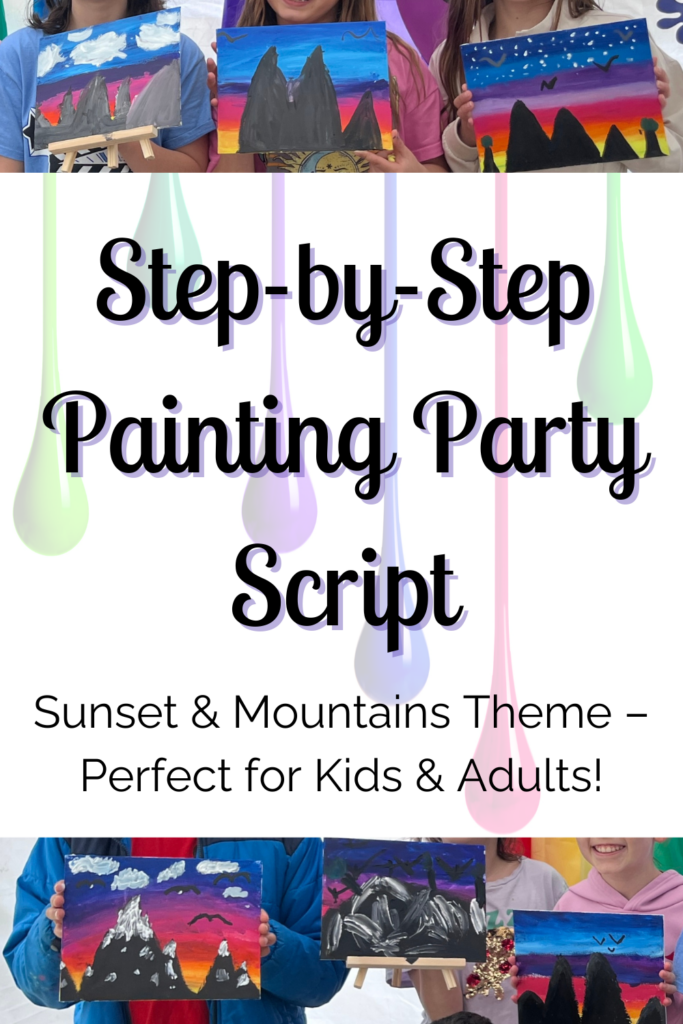
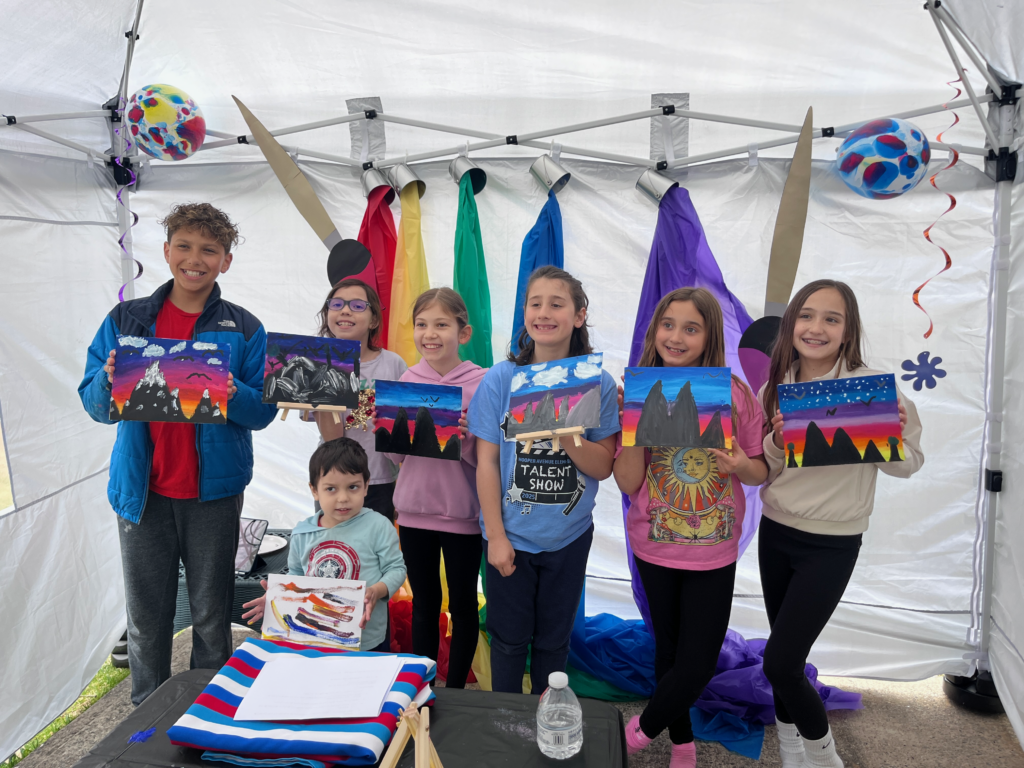
We hosted the painting party in a style similar to Pinot’s Palette, with easy-to-follow, step-by-step instructions. I used ChatGPT to help create the perfect script based on my daughter’s request to paint a sunset with mountains.
The script included clear directions, fun jokes, and even interesting painting facts to keep the kids engaged. I’ll be sharing a printable version of the script in my resource library so you can use it at your next painting party—or you can create your own unique version using ChatGPT too!
Click here to print out the script I used!
DIY Painting Party Decorations
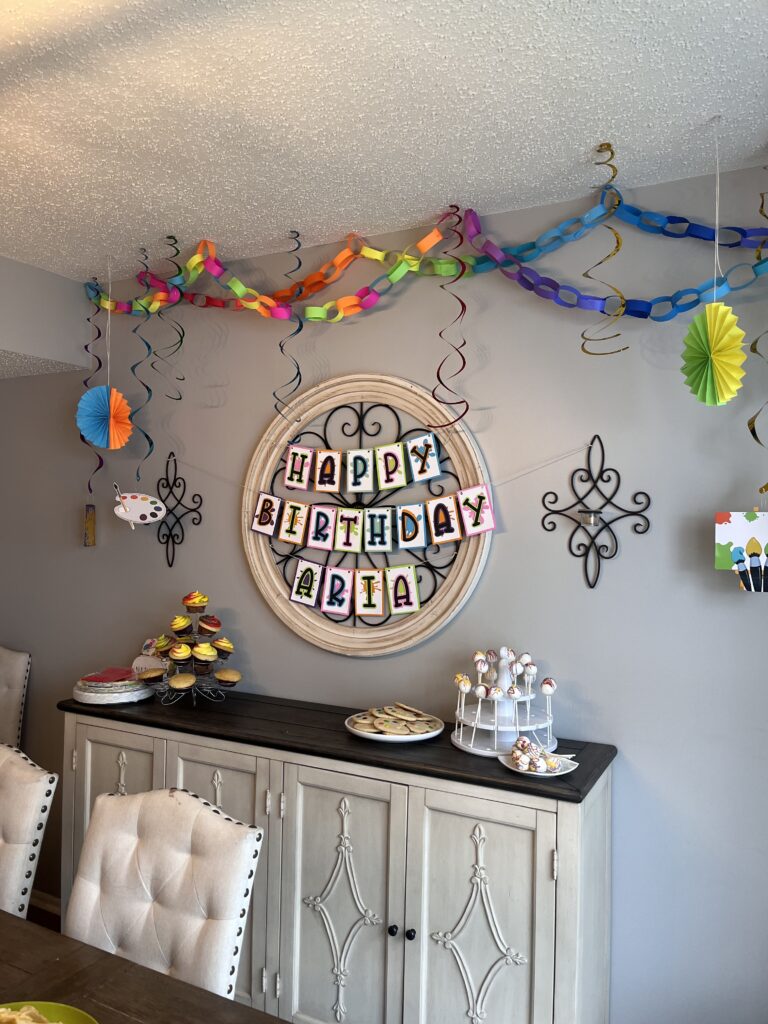
To make the space feel extra festive, I went all out with colorful, budget-friendly DIY decorations. Since it was an art-themed party, I knew our color scheme had to be all the colors. Here’s how I pulled it all together:

Paper Chain Garland
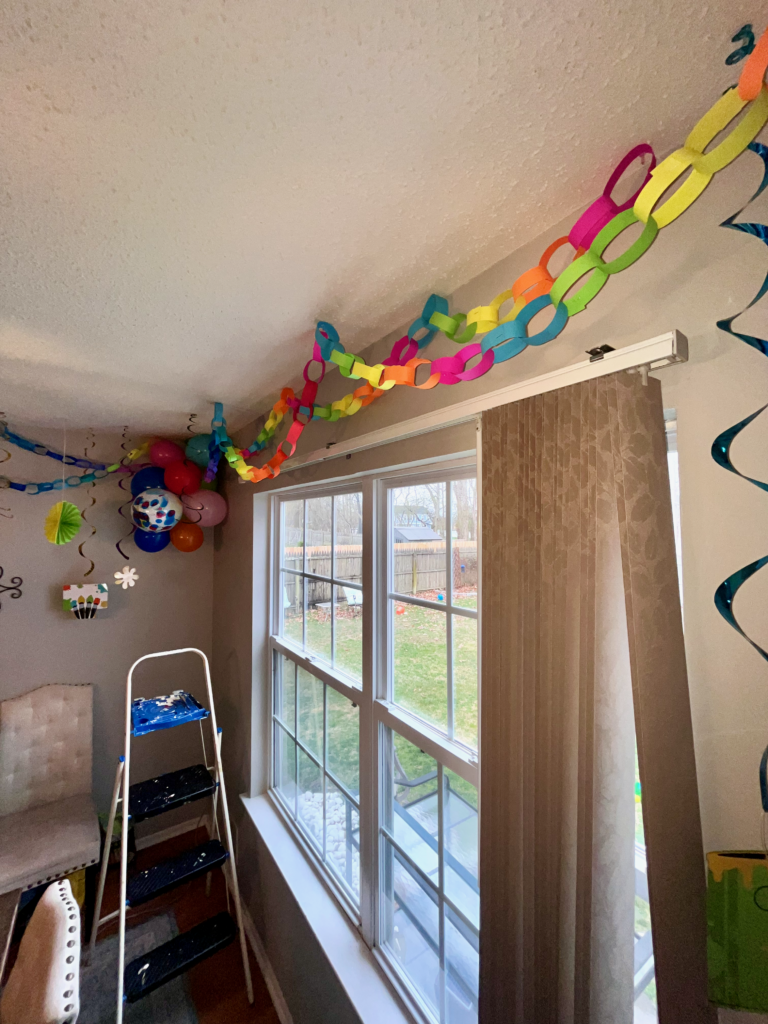
Using neon colored paper, I made a rainbow paper chain that only cost around $6. It added a bright, playful touch to the tent and set the tone for our creative celebration.
Cricut Happy Birthday Banner
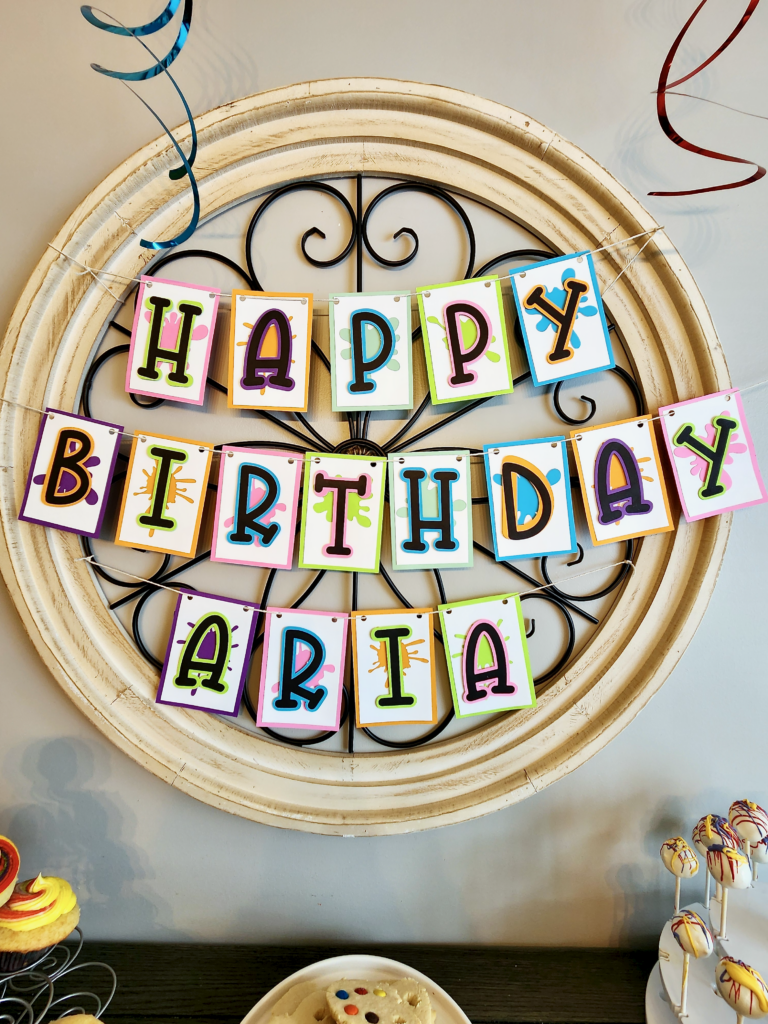
This custom banner was made from cardstock using my Cricut machine and cost only about $3 to make. The process took about an hour from start to finish, and I’ve linked a tutorial below. If you don’t have a Cricut yet—what are you waiting for? It’s my DIY lifeline! Grab one here and start crafting.
Click here to grab your Cricut Machine off Amazon now!
DIY Welcome Sign
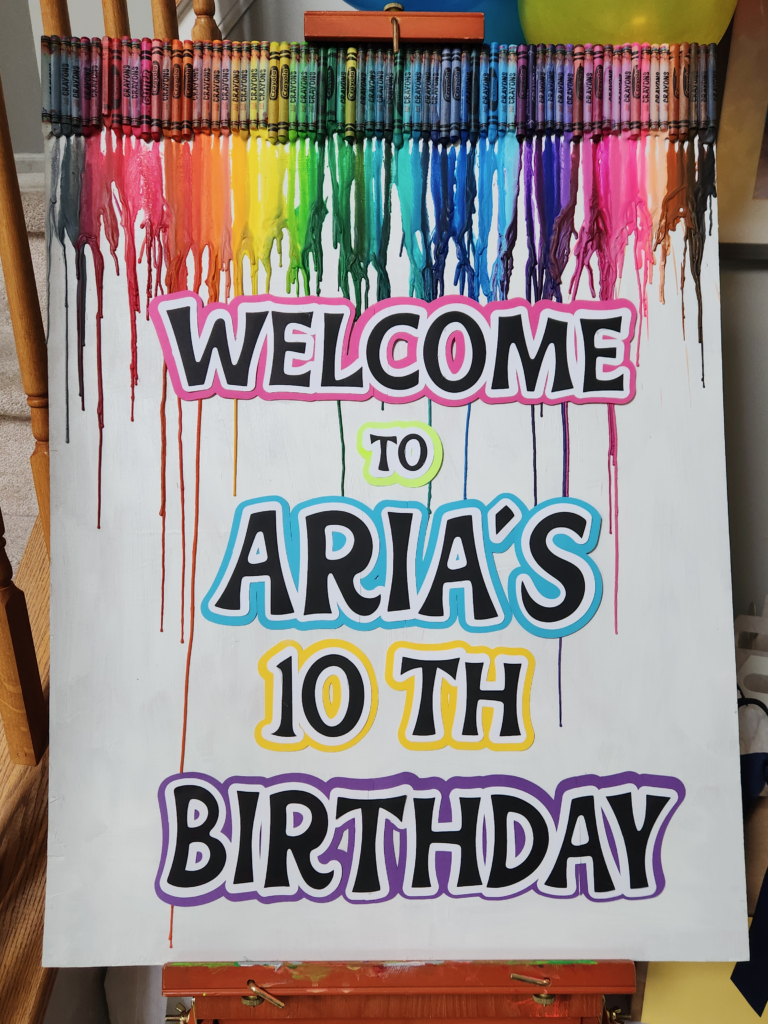
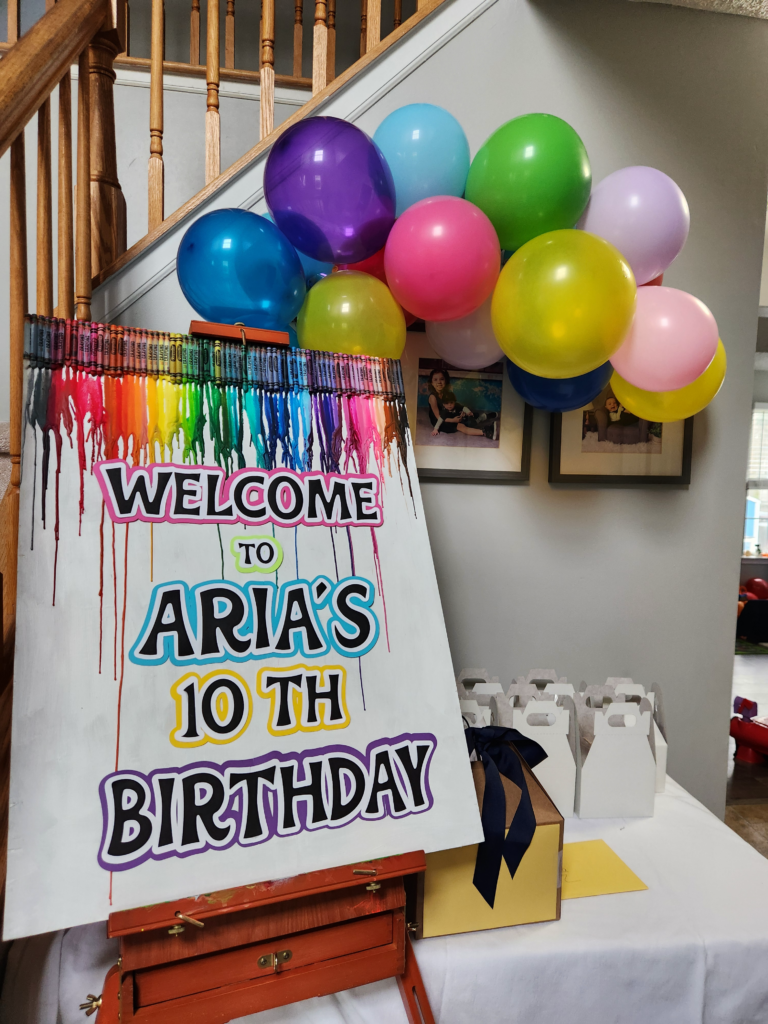
To greet our little artists, I created a colorful DIY welcome sign. I used a thin piece of wood (repurposed from last year’s sleepover party sign), dollar store crayons, and my Cricut for the lettering. After hot gluing the crayons along the top, I melted them with a heat gun so they dripped down the board like paint. It turned out so cute!
Budget Balloon Arch
Balloon arches are surprisingly easy to make, especially with Amazon balloon arch strips and glue dots. I grabbed balloons from the dollar store, making the total cost about $3. I still have plenty of the strip left for future parties.
Click here to find the balloon arch strip and glue dot set on Amazon.
Paint Spill Backdrop & Giant Paintbrushes
To create a paint spill effect, I used dollar store metal buckets and hot glued colorful tablecloths inside to cascade out like spilled paint.
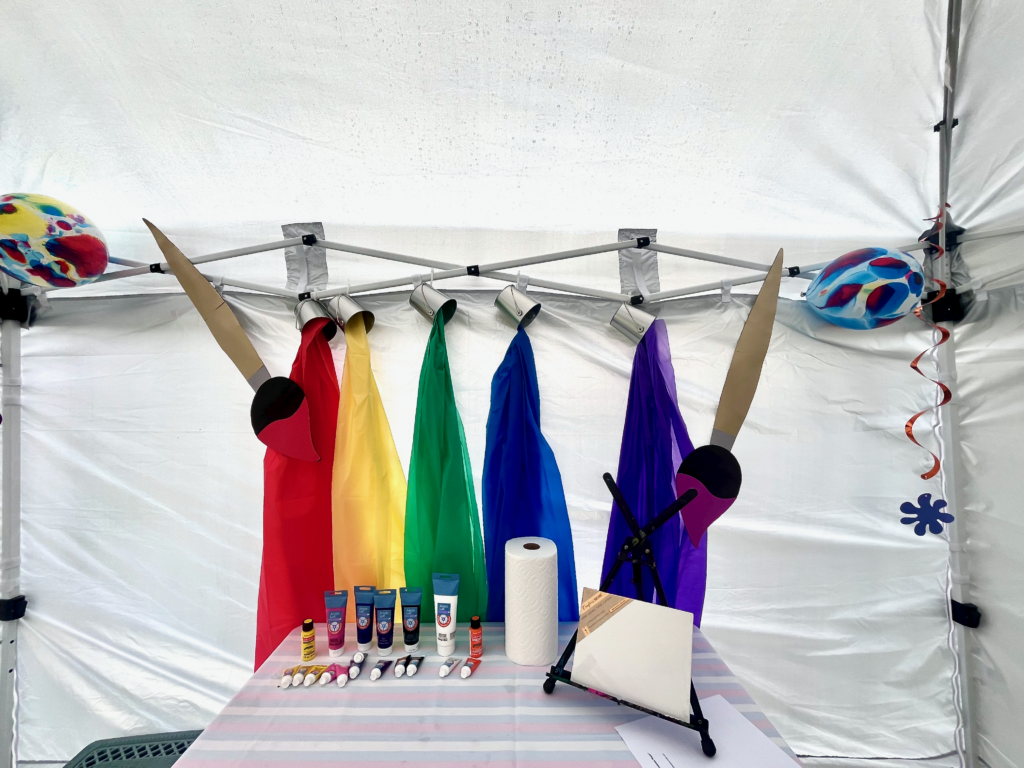
I also made oversized paintbrushes and a giant paint tube using cardstock, popsicle sticks, and my Cricut. This project only cost about $3–$5 and added a fun, artistic vibe to the tent. I used an off-mat Cricut method to assemble the larger pieces like a puzzle. Check out the video below to see how it all came together.
Store-Bought vs. DIY
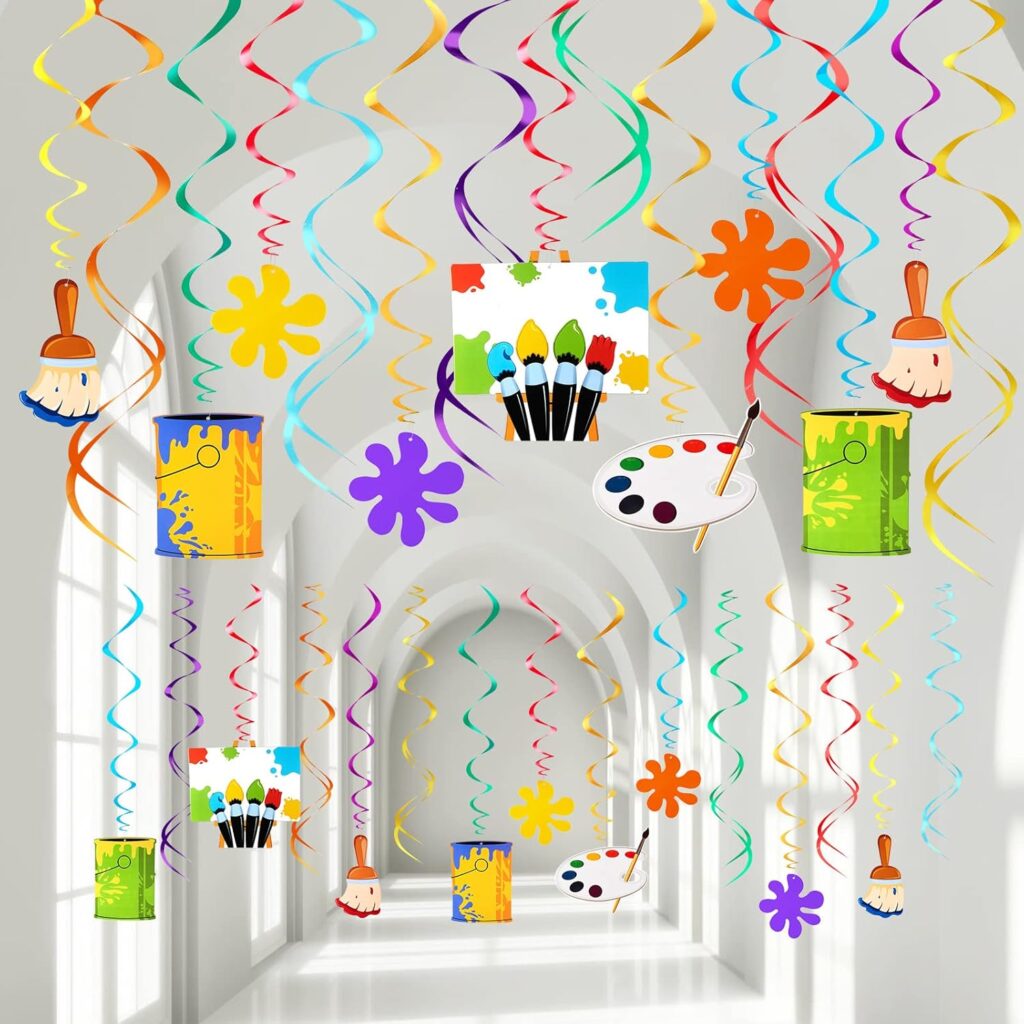
To round out the party space, I spotted some cute decorations on Amazon and thought, “Hey, I can totally make that!” But once I broke down the project and priced the supplies, I realized it would actually cost more to DIY them than to just buy them on sale—so I went with the pre-made option! Click here to find these on Amazon.
Sweet Treats for the Painting Party
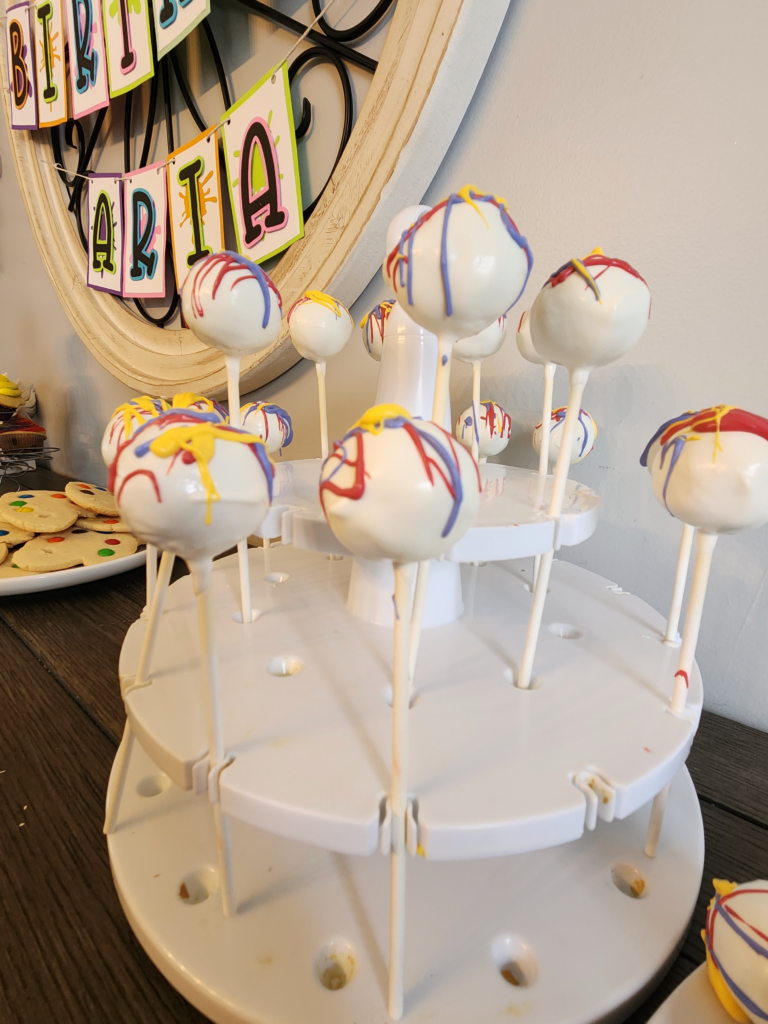
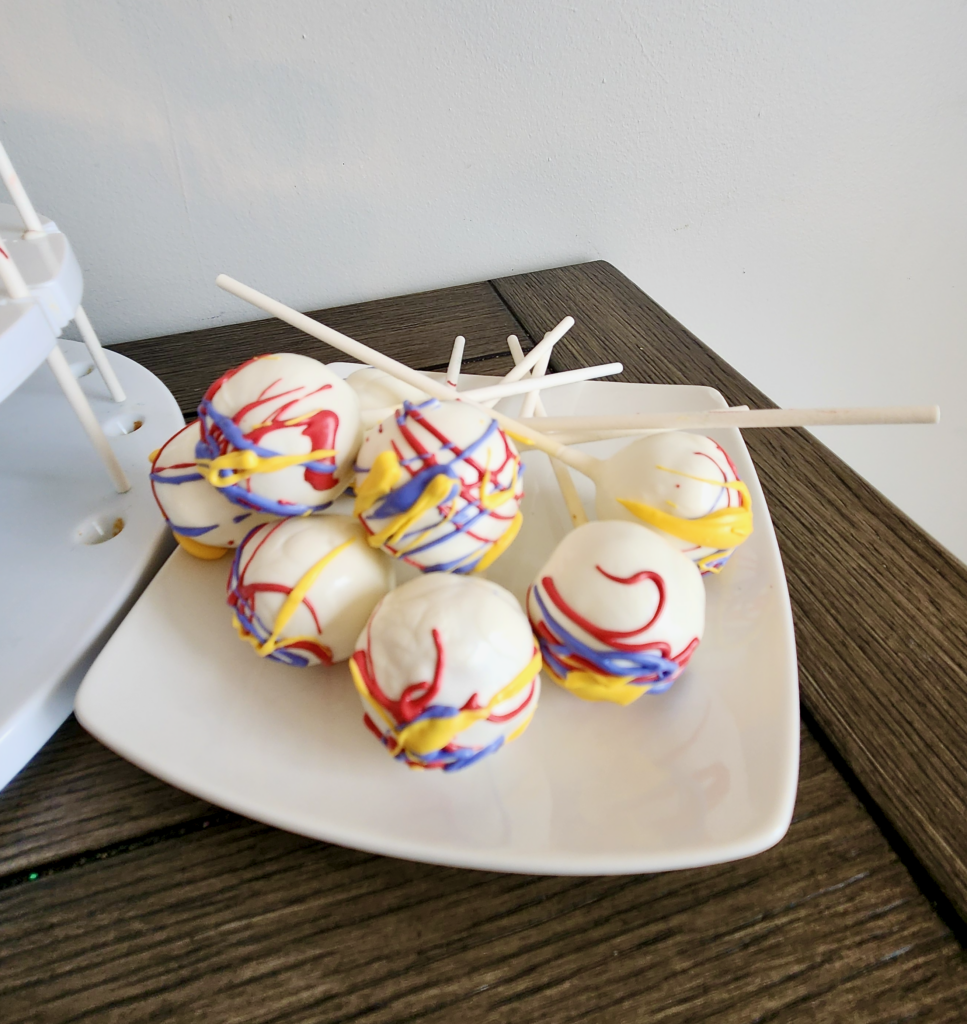
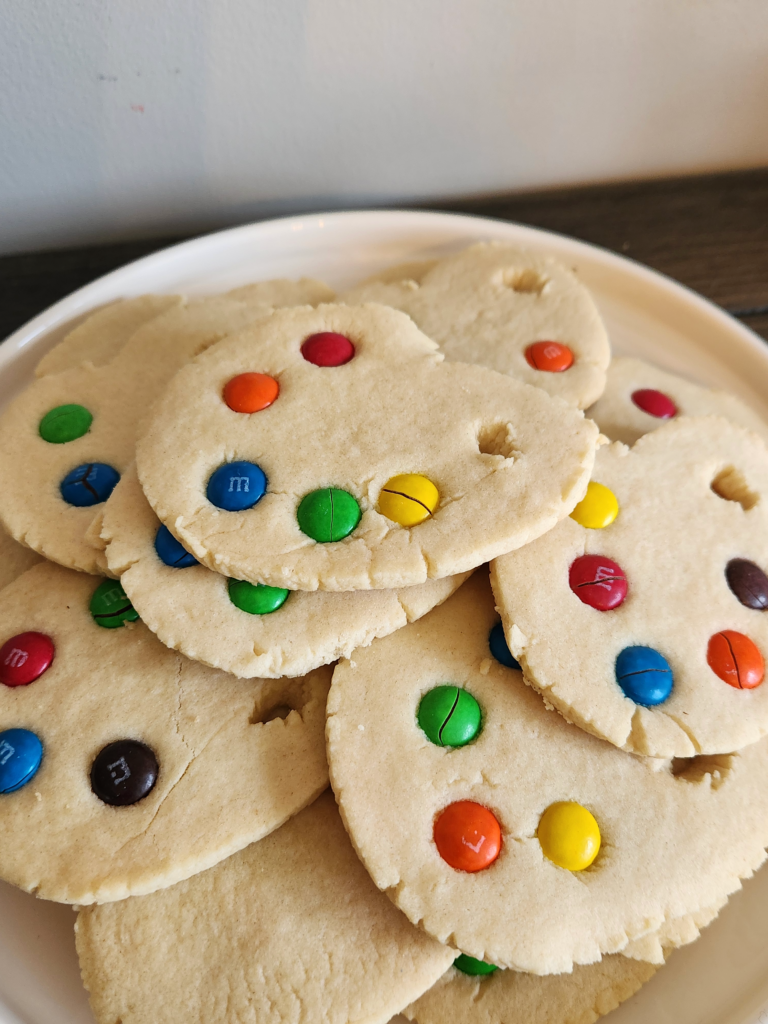
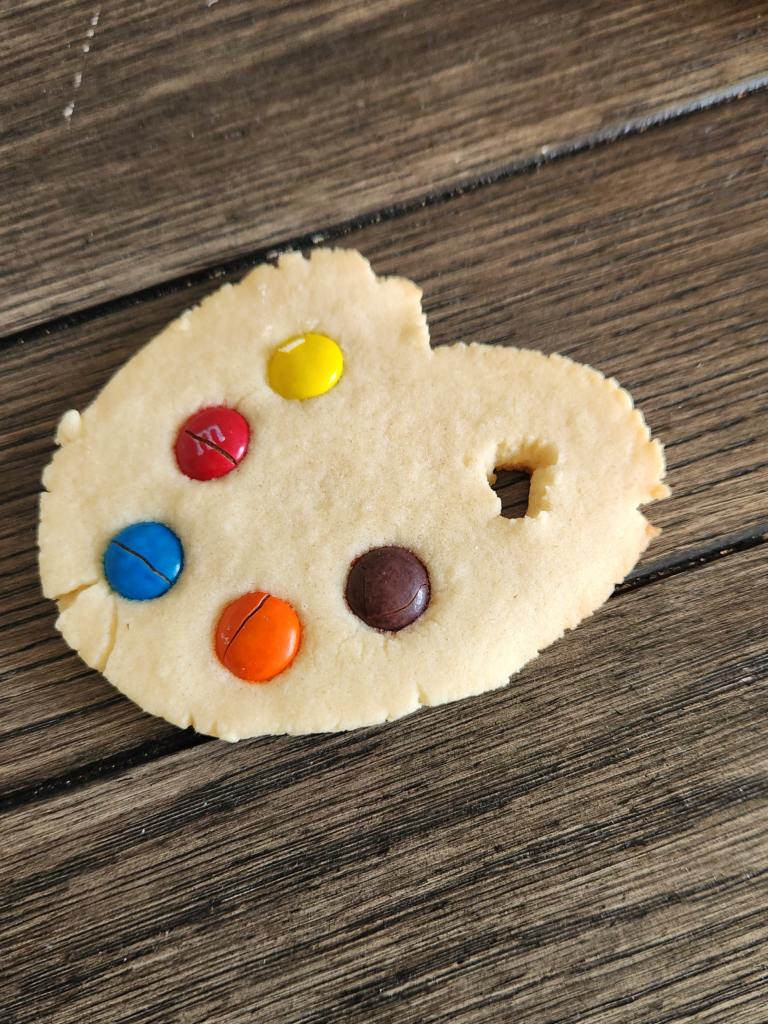
Let’s talk treats! We served cake pops, Rice Krispy treats, painter’s palette sugar cookies, and a simple but adorable birthday cake.
Cake Pops
Cake pops are one of my favorite things to make. I’ve experimented with tons of flavors over the years and even dreamed of starting a cake pop business. I’ll be sharing my cake pop recipes soon, and will update this post with the link when it’s live!
Paintbrush Rice Krispy Treats
These were so fun and easy! I dipped homemade Rice Krispy treats into candy melts to look like brushes dipped in paint. A popsicle stick made the perfect handle. I packed these in clear treat bags and used them as party favors—much better than trinkets that end up forgotten..
Painter’s Palette Sugar Cookies
These were a hit! I used my favorite sugar cookie recipe and shaped them into palettes by tracing a printed stencil with a pairing knife. Regular M&Ms worked perfectly as the “paint” on each cookie. The dough holds its shape well and doesn’t need to be chilled before baking.
DIY Painted Cake
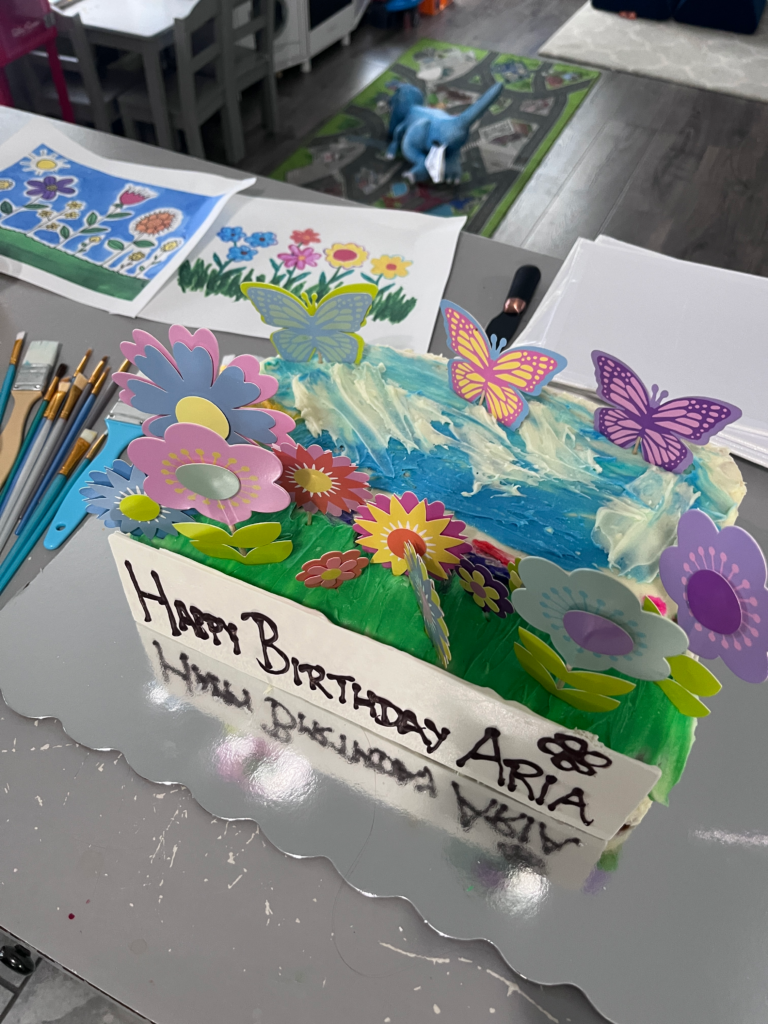
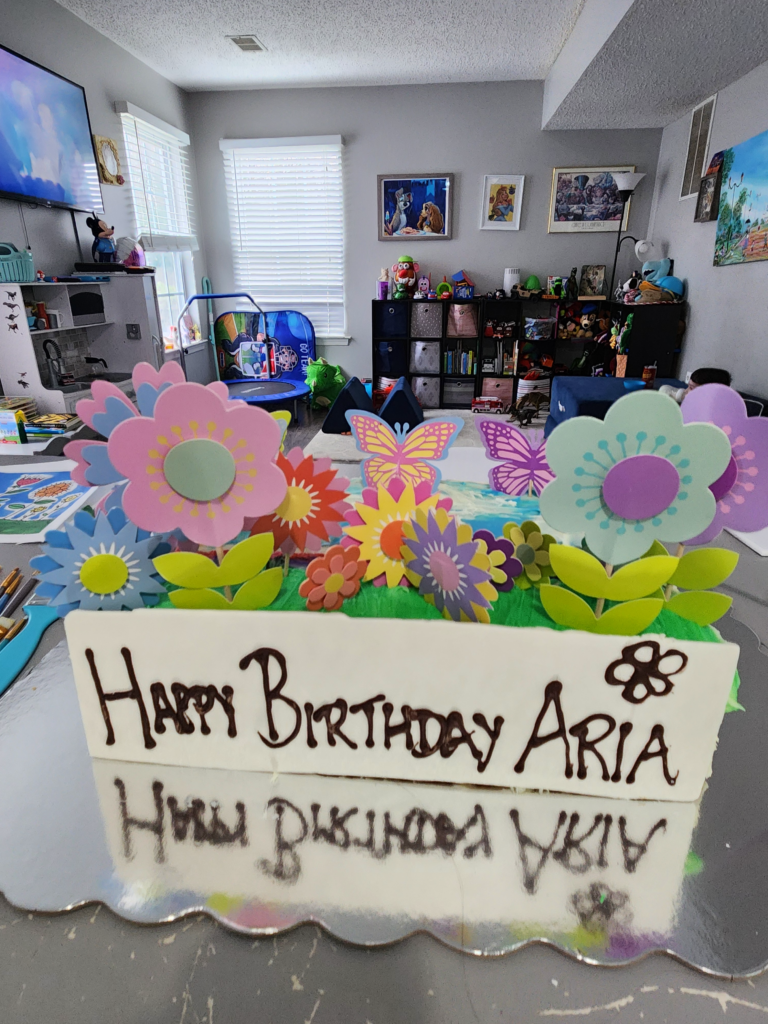
For the birthday cake, my mom baked a delicious vanilla cake with strawberry compote filling. She frosted it with white cream cheese icing and had the sweetest idea—let Aria paint her own cake! She mixed up colored icing and gave Aria a brush to create her own masterpiece. It was a perfect finishing touch to our painting party theme.
Final Thoughts on Hosting a Painting Party
Hosting a painting party for your child is such a fun, memorable way to celebrate—without the stress or huge expense. With a little planning, some creativity, and a few DIY touches, you can create an unforgettable experience your child and their friends will absolutely love.
To make your party planning even easier, don’t forget to check out my free printable painting instructions—perfect for walking kids through the step-by-step project—and grab my Ultimate Party Planning Guide in the Resource Library to help you organize every detail from start to finish.
You’ve got this, and I’m so excited to see the beautiful party you put together!

