How to Make DIY Seed Paper Favors That Guests Will Actually Want to Use
These make great DIY party favors, which is what I used them here for.
Looking for a party favor that’s budget-friendly, creative, and actually useful? These DIY seed paper favors check every box! Not only are they adorable and easy to customize, but they’re also plantable—which means your guests can take home a little piece of the party and grow something beautiful.
I made these eco-friendly seed paper favors for my son’s third birthday party, and they were a total hit! Want to try it too? I’ve got the step-by-step tutorial below, plus tips for customizing them to match your theme.
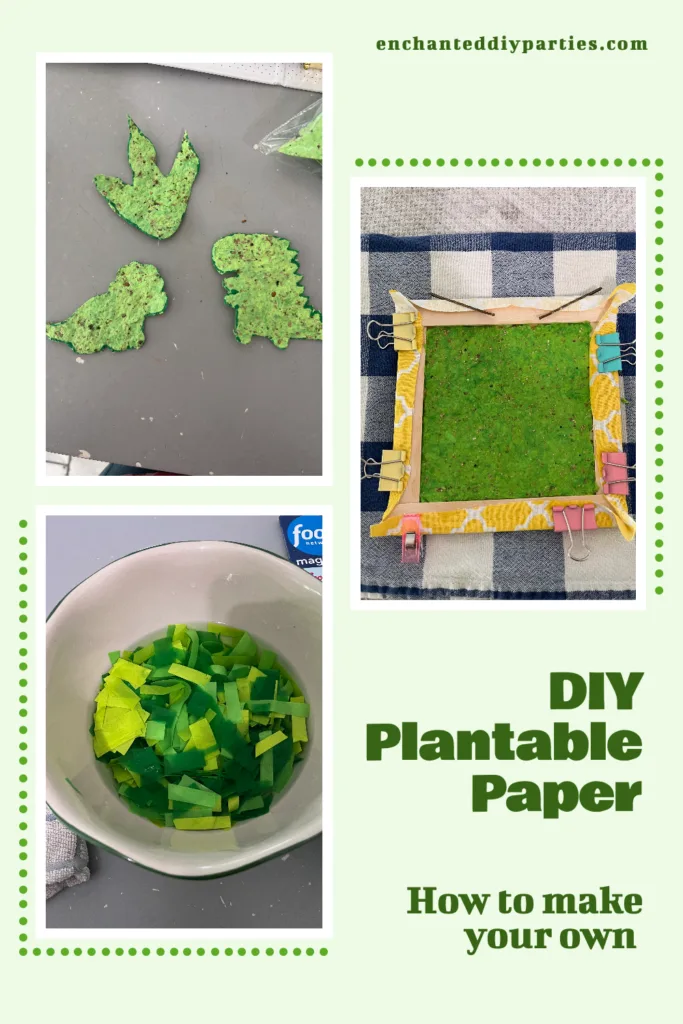
Why DIY Seed Paper Favors Are a Win
Let’s be real—party favors can easily turn into stuff that gets tossed. But when you turn up the creativity, you can make them meaningful and memorable. I’ve done all kinds of unique favors over the years: sand art kits, DIY candy bars, even custom pillowcases at our sleepover party (check that out here).
This time, I wanted something cute, fun, and eco-friendly—especially since we were throwing a dinosaur-themed birthday party. Check out the full party details here!)
That’s when I stumbled upon plantable seed paper, typically used for greeting cards. And I thought… why not turn that into a party favor?
This post may contain affiliate links, which means I may earn a small commission if you make a purchase through these links at no additional cost to you. As an Amazon Associate, I earn from qualifying purchases. I only recommend products and services I truly believe in and think you’ll love!
Watch Me Make DIY Seed Paper Favors 🎥
Sometimes, seeing the process in action makes it so much easier! I filmed a quick TikTok showing exactly how I made this printable seed paper, step by step. If you’re a visual learner (like me!), check out the video below to watch the transformation. Don’t forget to like, comment, or follow me on TikTok for more fun DIY projects!
@enchantedcraftingmama Plantable seed paper! I love when i can combine my love for crafting and my love for gardening into one project! I cut these into shapes and gave them as a party favor! #plantablepaper #wildflowers #crafting #garden #partyfavors ♬ BORN FOR THIS – Foxxi
What You’ll Need to Make DIY Seed Paper Favors
Materials:
- Lightweight colored paper (I used leftover party decor scraps)
- Warm water
- Wildflower seeds (or your favorite blend!)
- Popsicle sticks
- Clamps
- Cheesecloth or thin fabric
- OR this This Paper Making Screen Frame from Amazon
- Sheet pan
- Blender
Since my son’s birthday party theme was dinosaurs, and I was crafting many party decorations, I had a lot of leftover green lightweight paper in multiple shades, perfect for making plantable seed paper party favors.
Step-by-Step: How to Make Your Own DIY Seed Paper Favors
1. Tear the Paper
Rip up your paper into small pieces—about 1–2 inches.
➡️ You’ll need about 1 cup of scraps.
2. Soak It
Let the paper soak in warm water for 20–30 minutes. (Longer if it’s thicker paper.)
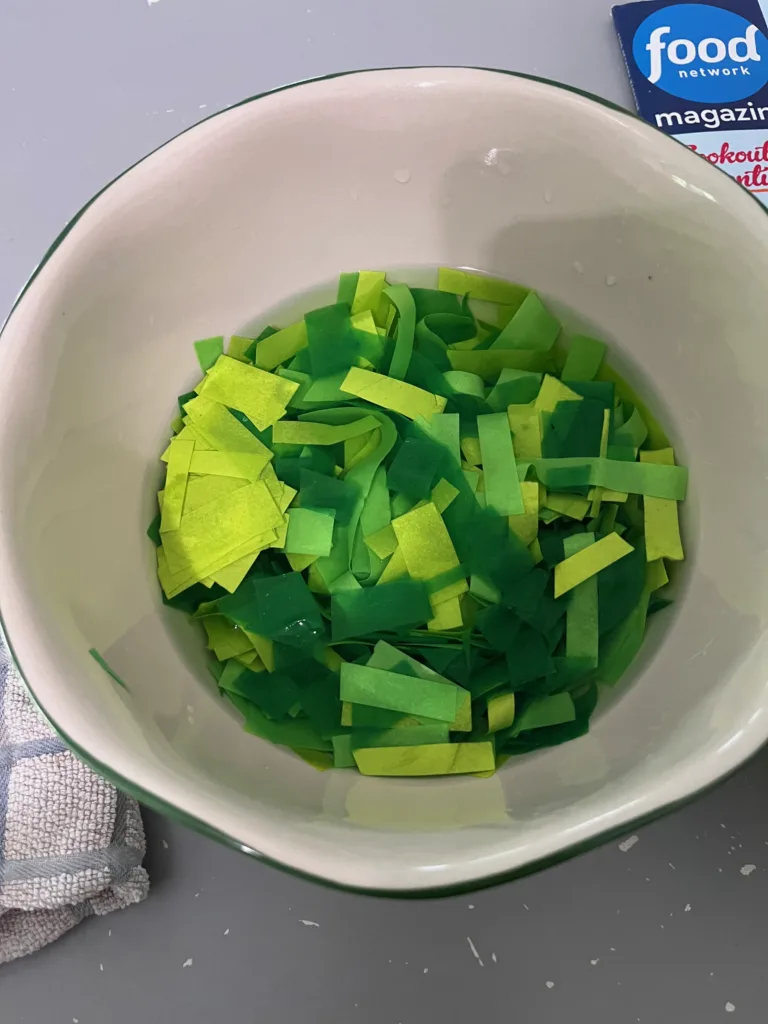
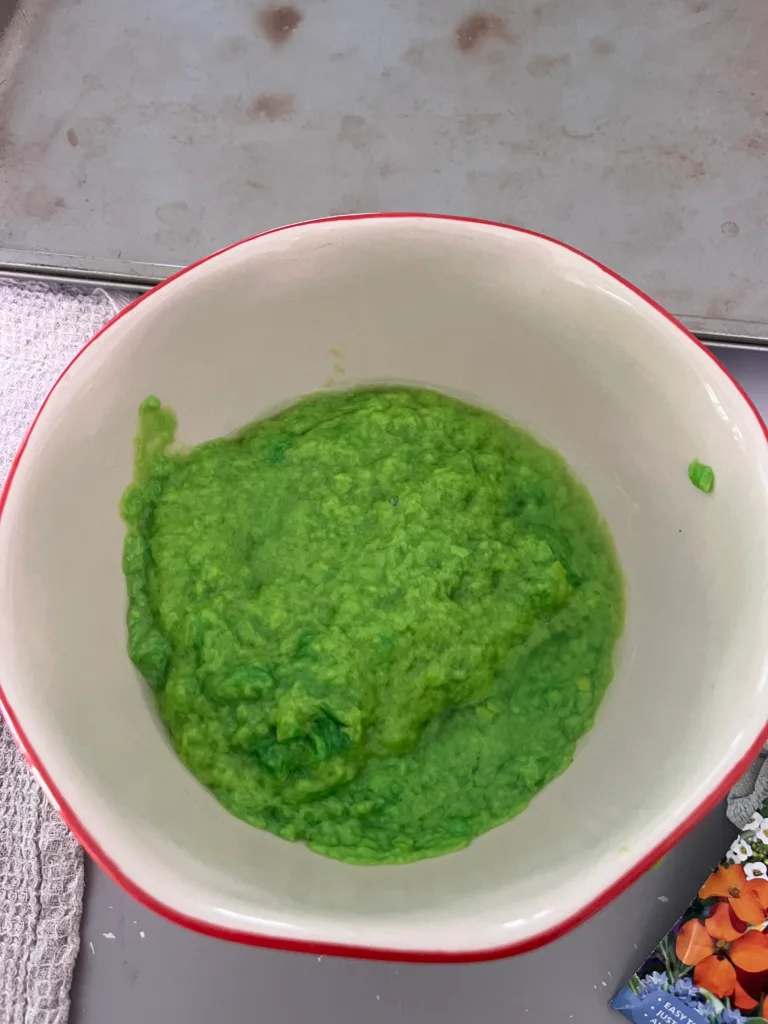
3. Blend the Pulp
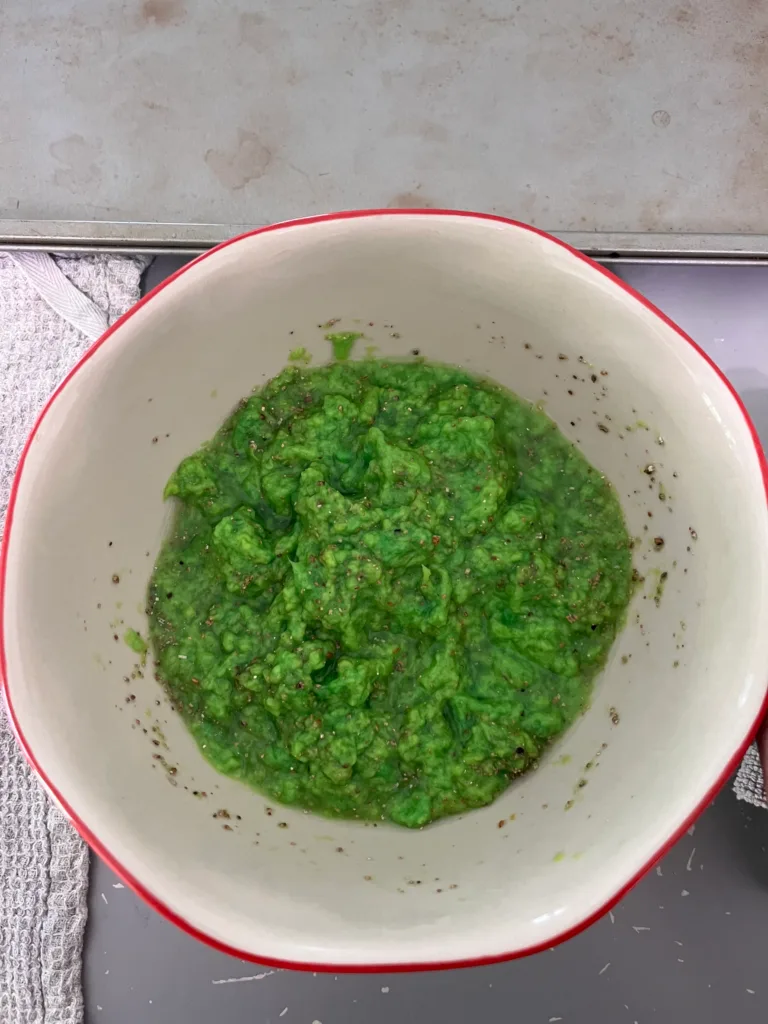
Pop the soaked paper into a blender with 2 cups of water. Blend until it has an oatmeal-like texture.
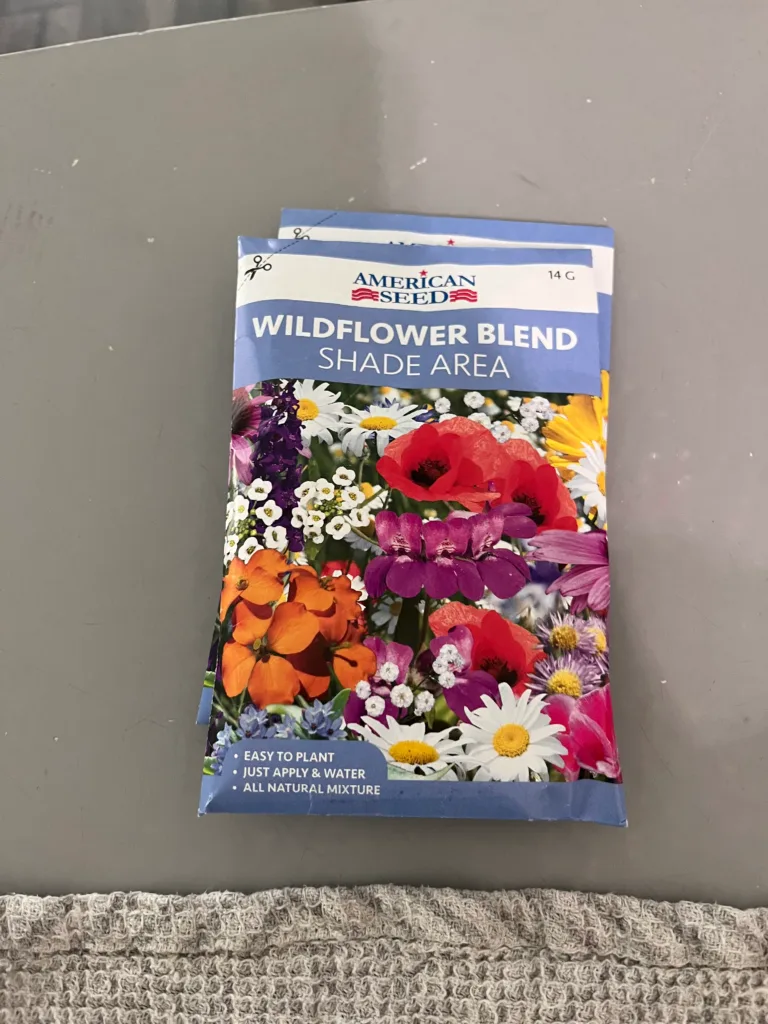
4. Add Seeds
Gently stir in your seeds—don’t blend them!
You want the seeds to stay whole so they can sprout.
5. Shape the Pulp
Place cheesecloth (or mesh screen) over a towel or parchment paper. Pour the pulp on top and spread it into a flat sheet. (Click here to find a paper making kit on Amazon)
➡️ Aim for 1/8-inch thick.
Use your hands, a sponge, or a rolling pin to press out extra water.
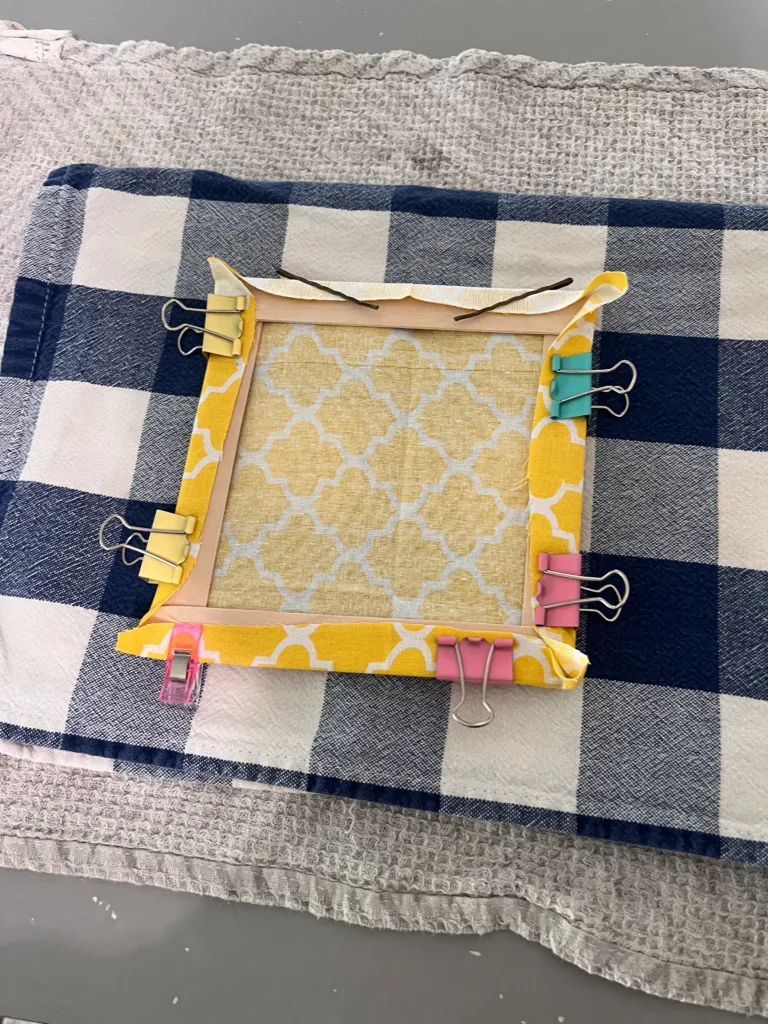
I made my own paper press mesh out of things I had around the house, but you can find paper making kits and screens on Amazon, click here to shop some!
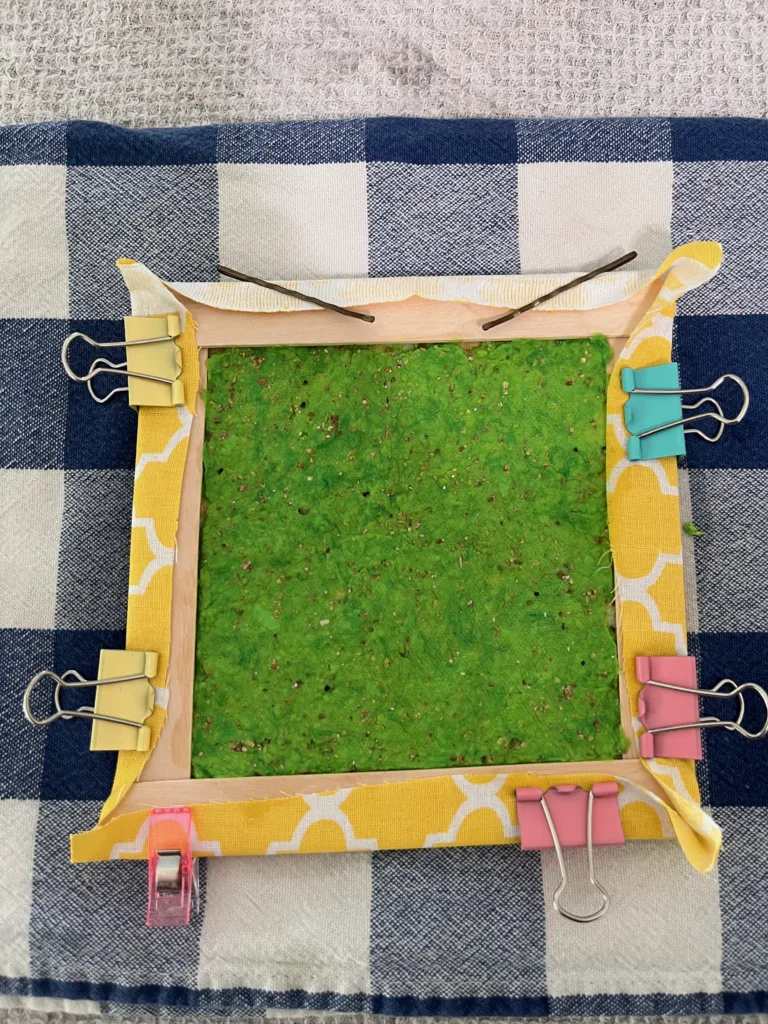
6. Dry the Paper
Let your paper air dry for 24–48 hours. For faster drying, place it near a sunny window and flip halfway through.
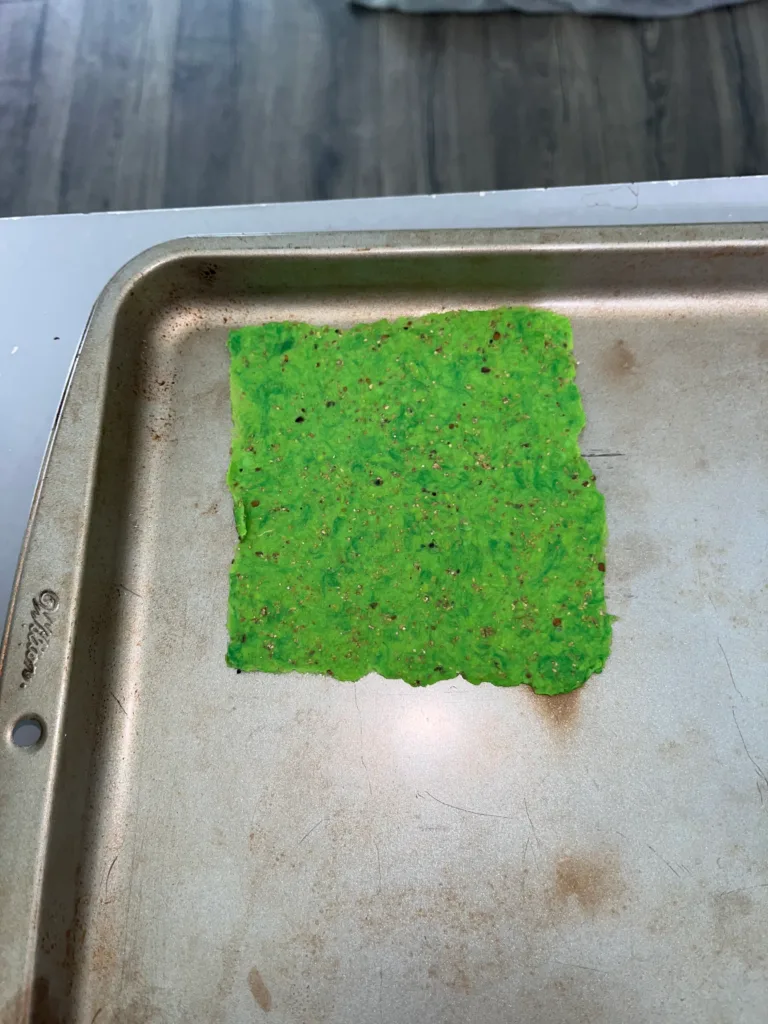
7. Cut and Create
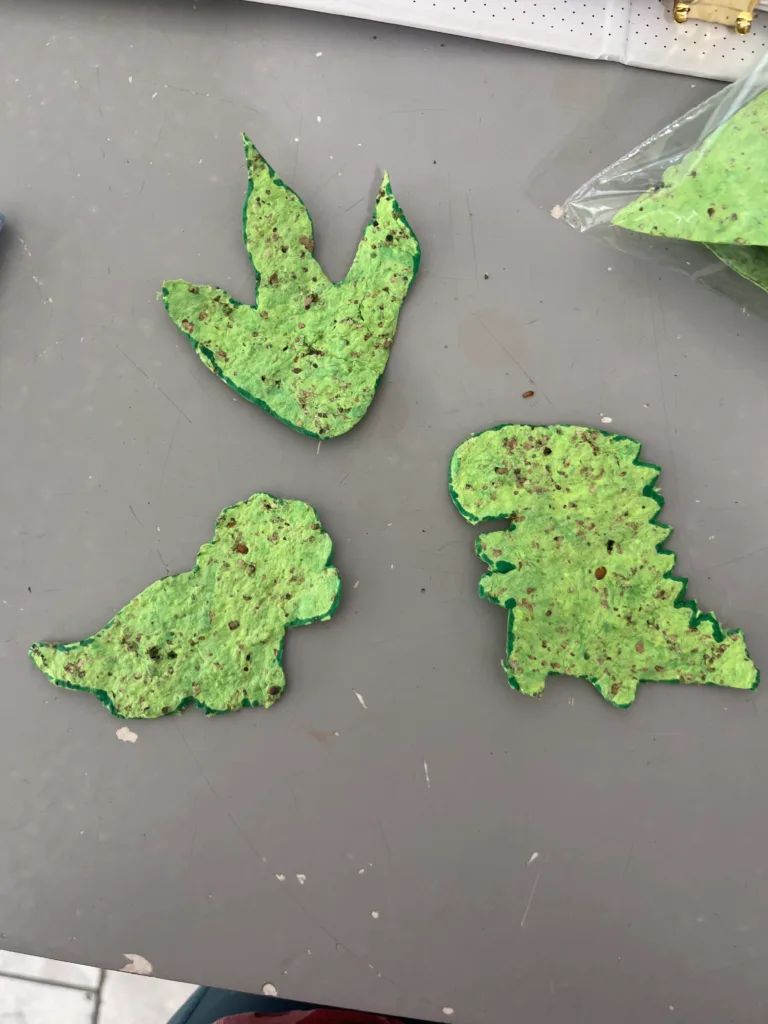
Once dry, peel off the paper and cut it into shapes!
I did dinosaurs to match our party theme—but you can do anything: hearts, stars, animals, holiday shapes, etc.
How to Use Your DIY Seed Paper Favors
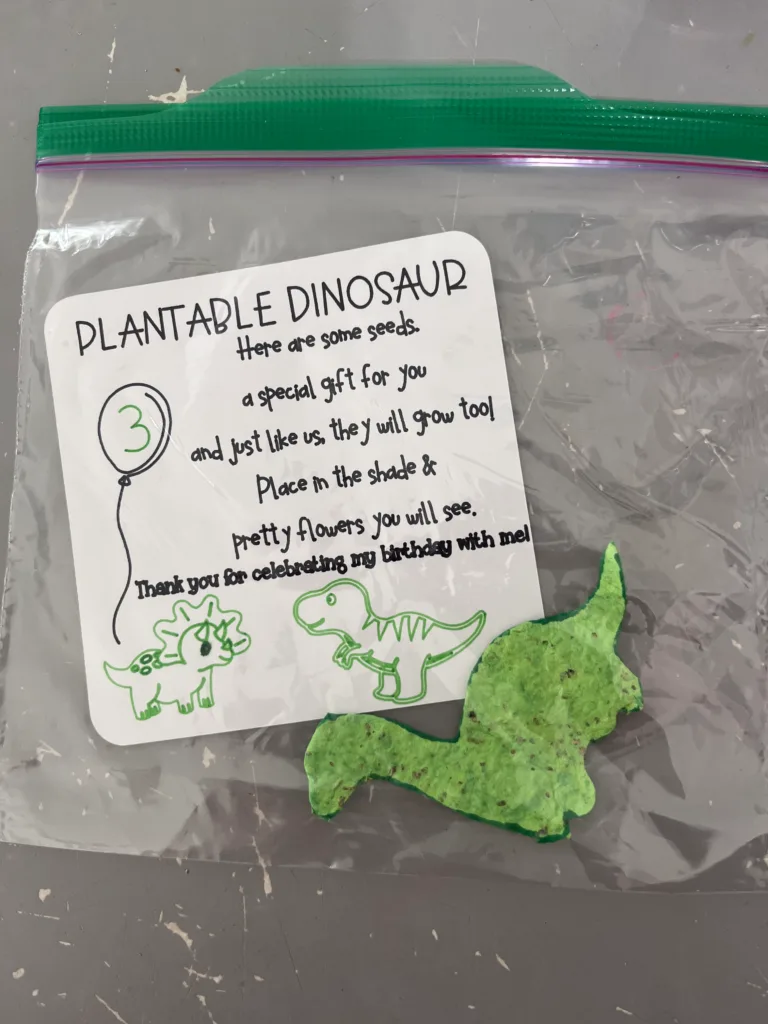
These were a hit at our dinosaur party! I cut the seed paper into dino shapes and tucked them into small kraft paper envelopes with a tag explaining how to plant them. The kids loved them, and parents appreciated that they were sustainable and screen-free!
You can also:
- Tie them to thank-you bags
- Use them as place cards
- Add them to gift baskets
- Include planting instructions with a cute printable tag
It’s a fun, personal favor that keeps the party going—literally—as flowers bloom from it!
Why You’ll Love These DIY Seed Paper Favors
- 🌿 Eco-friendly and waste-free
- 🌼 Customizable to any theme or holiday
- 💵 Budget-friendly (especially if you use leftover paper)
- 🎉 Memorable for guests of all ages
Whether it’s for birthdays, bridal showers, classroom gifts, or Earth Day crafts, DIY seed paper favors are a thoughtful, creative way to say “thanks for coming!”
Final Thoughts
Thanks so much for joining me on this crafty little adventure! I hope this tutorial inspires you to create your own DIY seed paper favors for your next celebration. It’s such a simple project with a big impact—and it makes your event feel extra thoughtful.
✨ Don’t forget to grab your free Ultimate Party Planner from my resource library to help you pull everything together with ease!
