Looking for a fun and creative way to personalize your kid’s birthday outfit? Check out these custom hand-painted Toy Story-themed sneakers I made for my son! I’ll walk you through the exact steps, materials, and paint I used to create these fun, one-of-a-kind shoes. They were the perfect touch for our “Two-Infinity and Beyond” Toy Story birthday party!
This post may contain affiliate links, which means I may earn a small commission if you make a purchase through these links at no additional cost to you. As an Amazon Associate, I earn from qualifying purchases. I only recommend products and services I truly believe in and think you’ll love!
Inspiration for the Custom Toy Story Sneakers
For our son’s 2nd birthday party, we went all out with a Toy Story theme—and of course, his outfit had to match the magic. While browsing Pinterest, I found amazing hand-painted Toy Story sneakers, but the price tag was way out of my budget. Instead of buying them, I decided to make my own custom Toy Story shoes with a little creativity, some paint, and a pair of plain sneakers.
In this tutorial, I’ll show you exactly how I created these DIY hand-painted sneakers step by step. Not only were they the perfect finishing touch to his birthday outfit, but they were also a fun, budget-friendly project anyone can try!
And dont forget to check out the full party details on my blog post: Toy Story Birthday Party! Two-Infinity and Beyond!
Supplies Needed for Hand-Painted Toy Story Sneakers
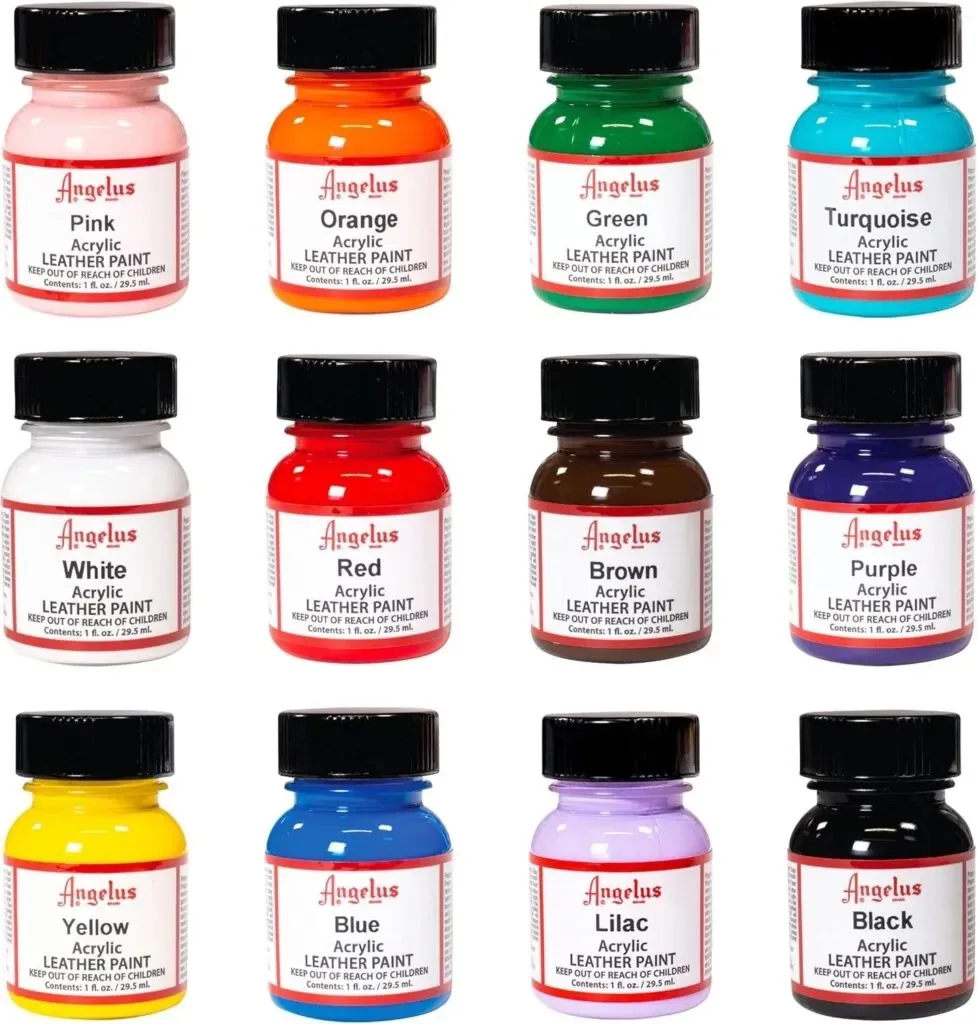
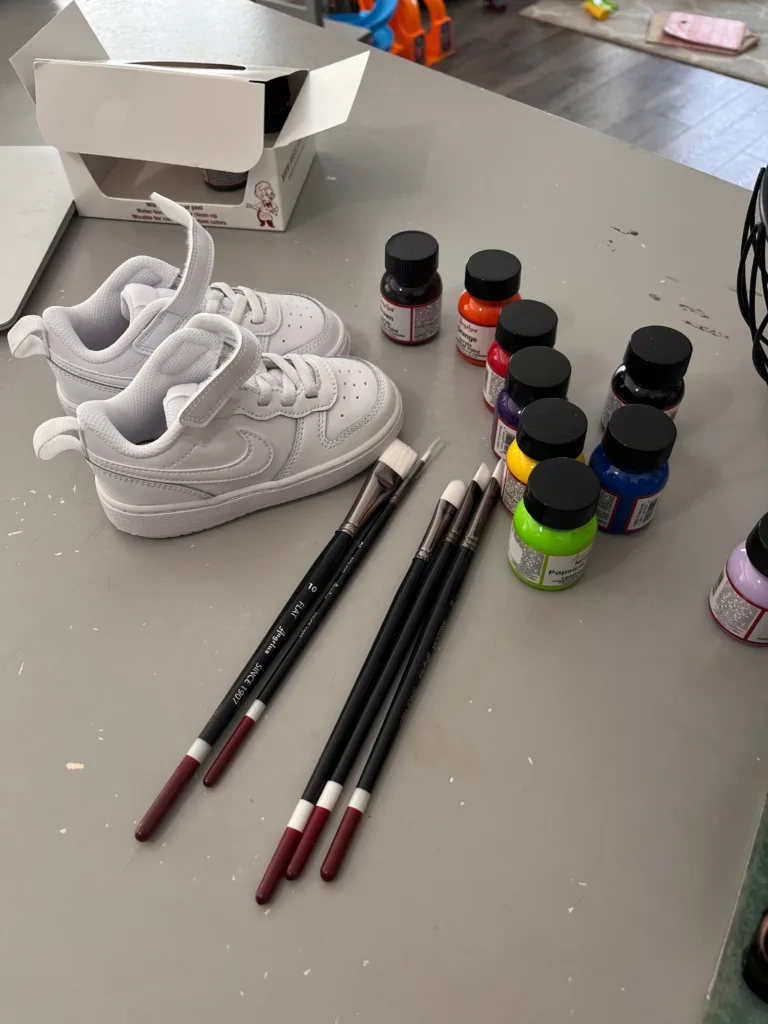
After some research, I found the perfect leather paint set and brushes on Amazon. These paints are specifically designed for leather, which makes them ideal for this project. Using the right materials is key to ensuring that your design holds up, especially when worn often. Prepping the sneakers properly before painting is equally important for a long-lasting finish.
You can grab the Angelus Brand Acrylic Paint and Angelus Paint Brush Set on Amazon. The neon green and gold colors I used were not included in the starter set, but you can find them separately as well. Here’s a link to the Neon Green Paint and the Gold Paint.
And don’t forget the White Nike Sneakers to get started on your custom design!
Step-by-Step Guide to Painting Toy Story Shoes
Prepping the Sneakers for Painting
To start, I prepped the sneakers by using 220-grit sandpaper to gently sand all around the shoes. I made sure to focus on the creases and hard-to-reach areas, ensuring better paint adhesion. Once the sanding was done, I grabbed a soft cloth (an old T-shirt works perfectly) and sprayed the sneakers with 91% isopropyl alcohol to remove any dirt or oil. After spraying, I wiped them thoroughly with the cloth to ensure they were clean and ready for painting.
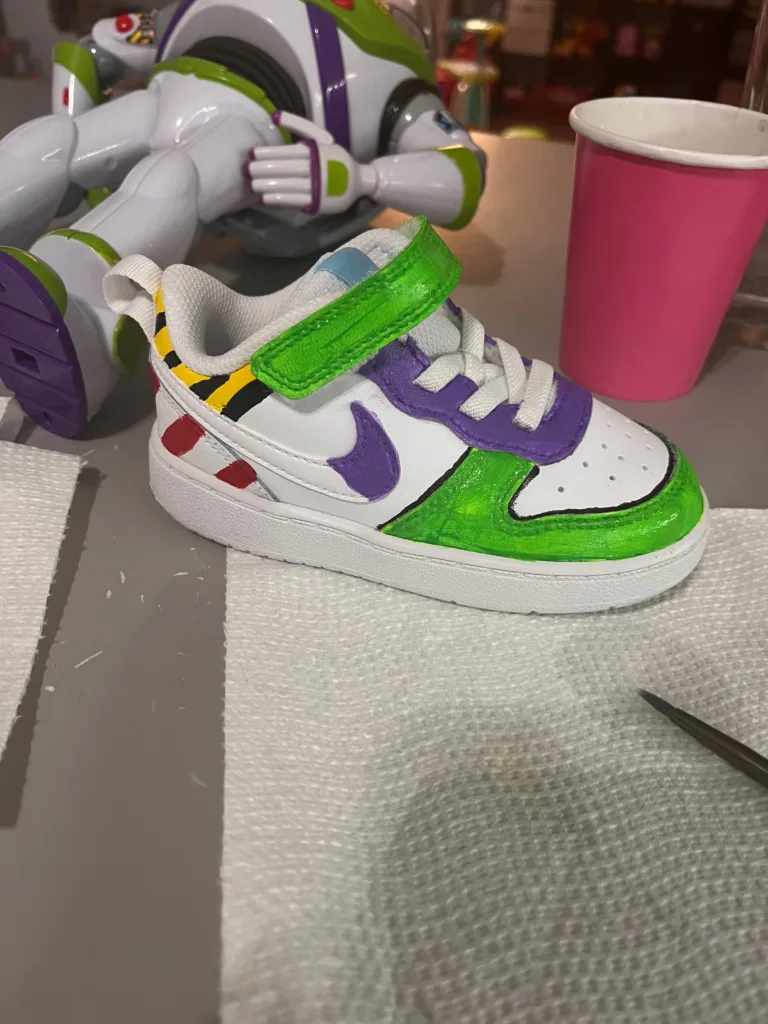
Creating the Woody Side
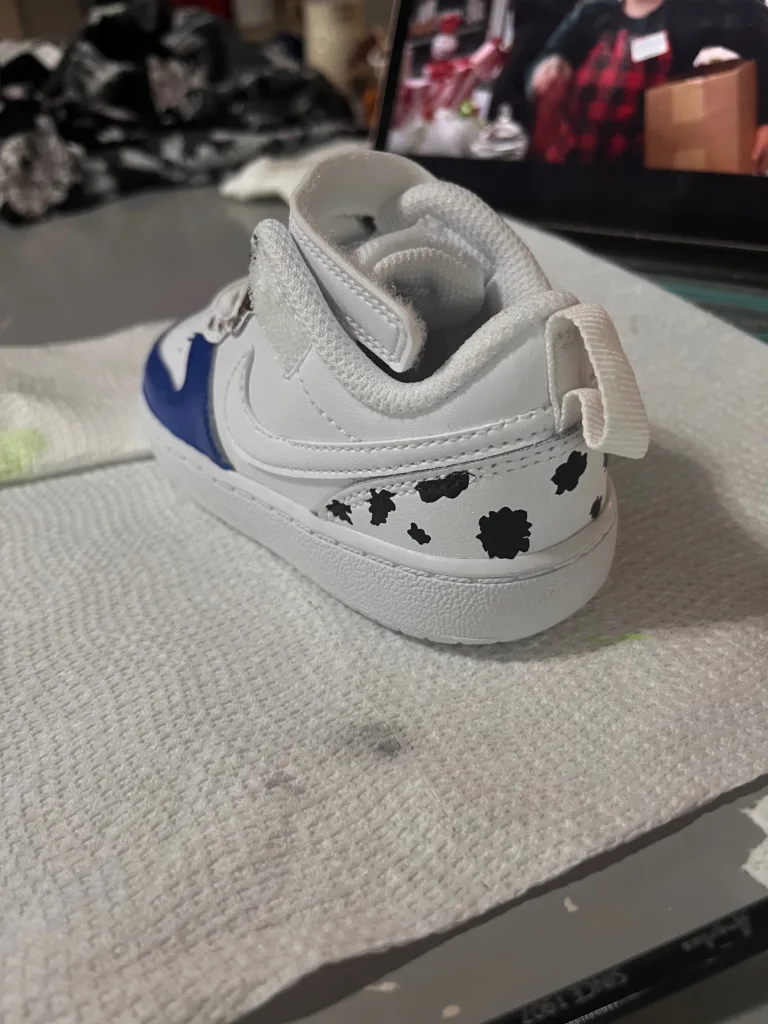
Using my inspiration photo and our Woody doll as guides, I began transforming one of the sneakers into the “Woody side.” I focused on breaking down the main design elements, like his iconic yellow shirt and brown boots, to replicate them onto the sneaker.
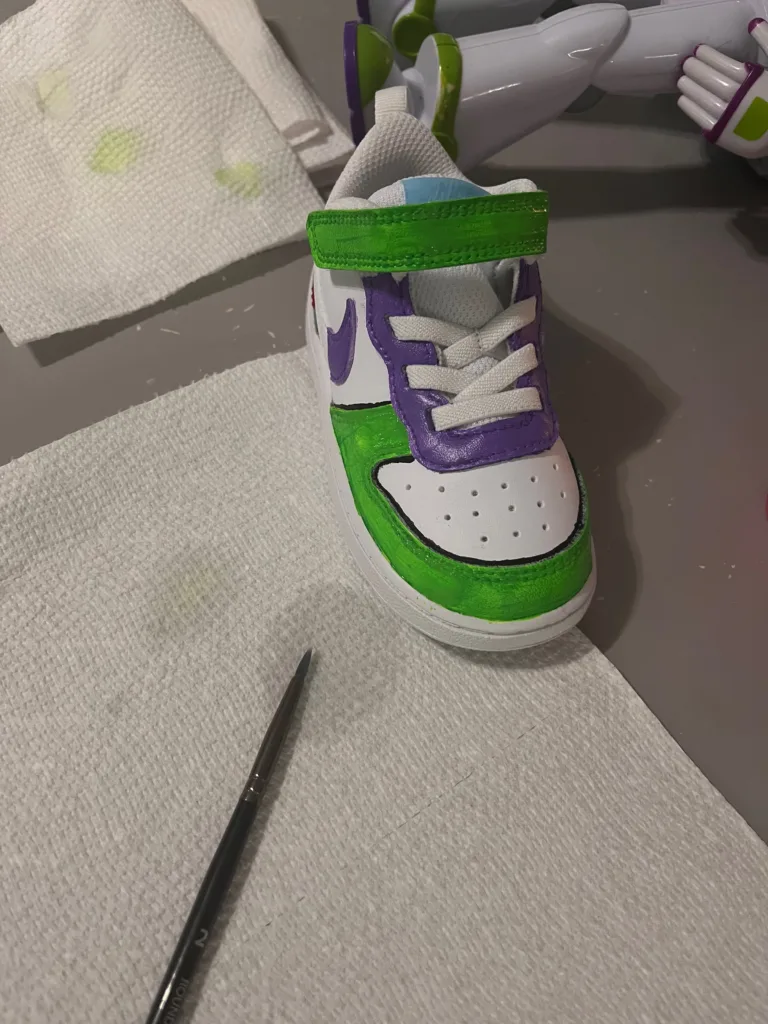
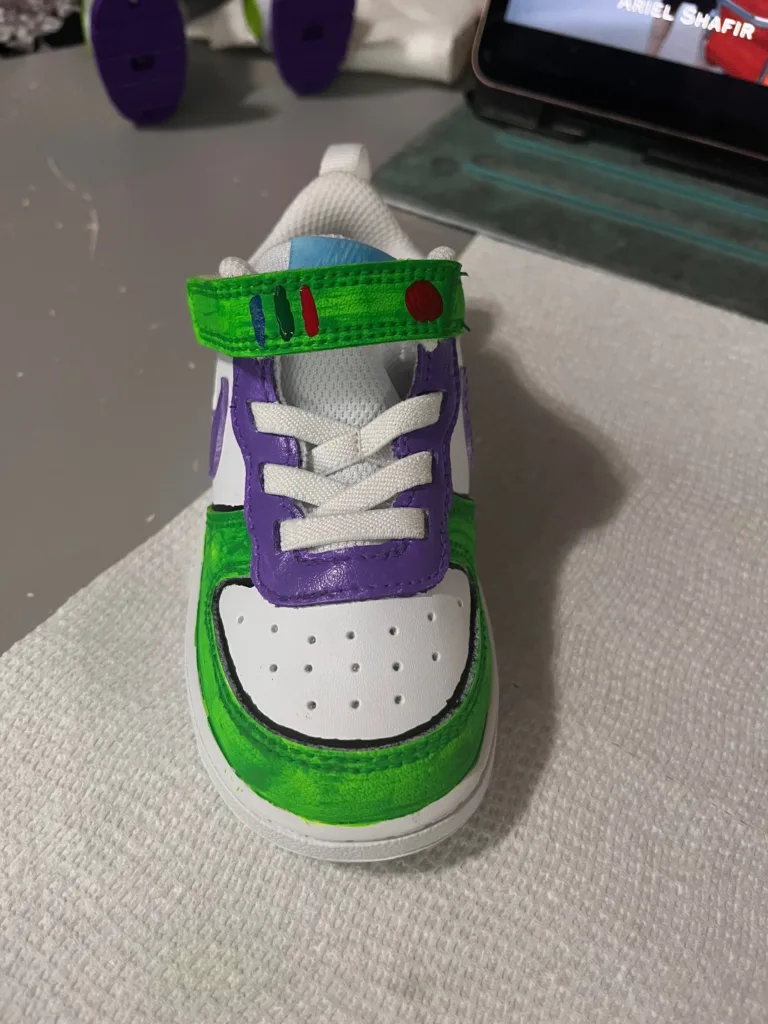
For Woody’s yellow shirt, I applied two coats of yellow paint to ensure it was vibrant and solid. Patience is key here, so I made sure each coat dried before applying the next. On the other sneaker, I focused on the Buzz Lightyear side, where I used green paint that required three coats to get the rich, solid color I wanted.

Take your time with each layer—proper layering helps the colors turn out smooth and professional!

The green on the Buzz Lightyear sneaker took about 3 coats to get the color to look solid.

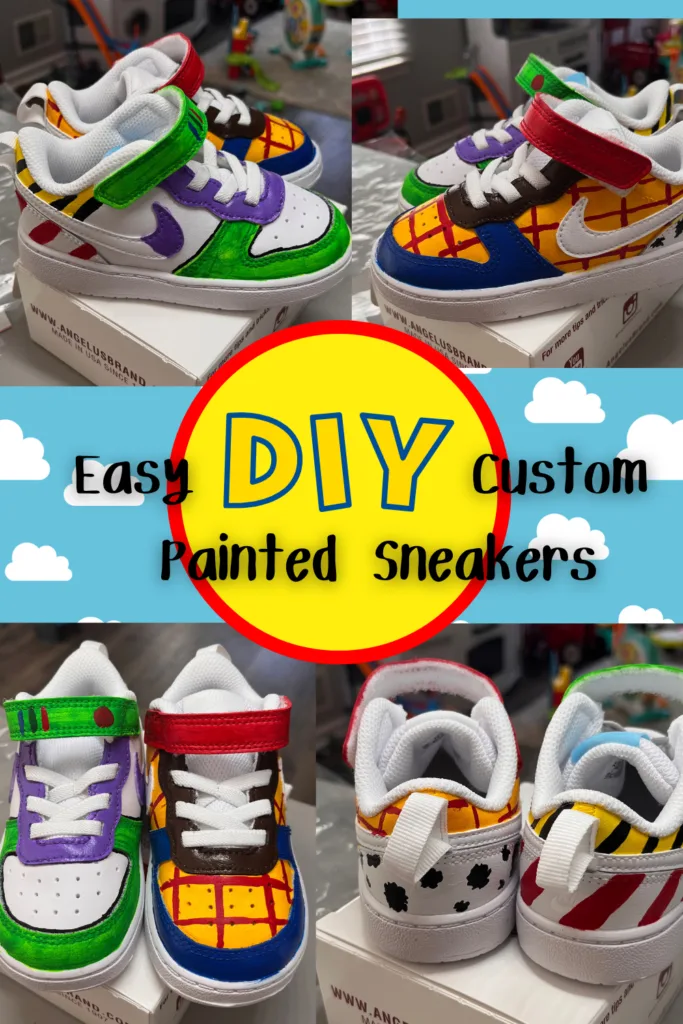
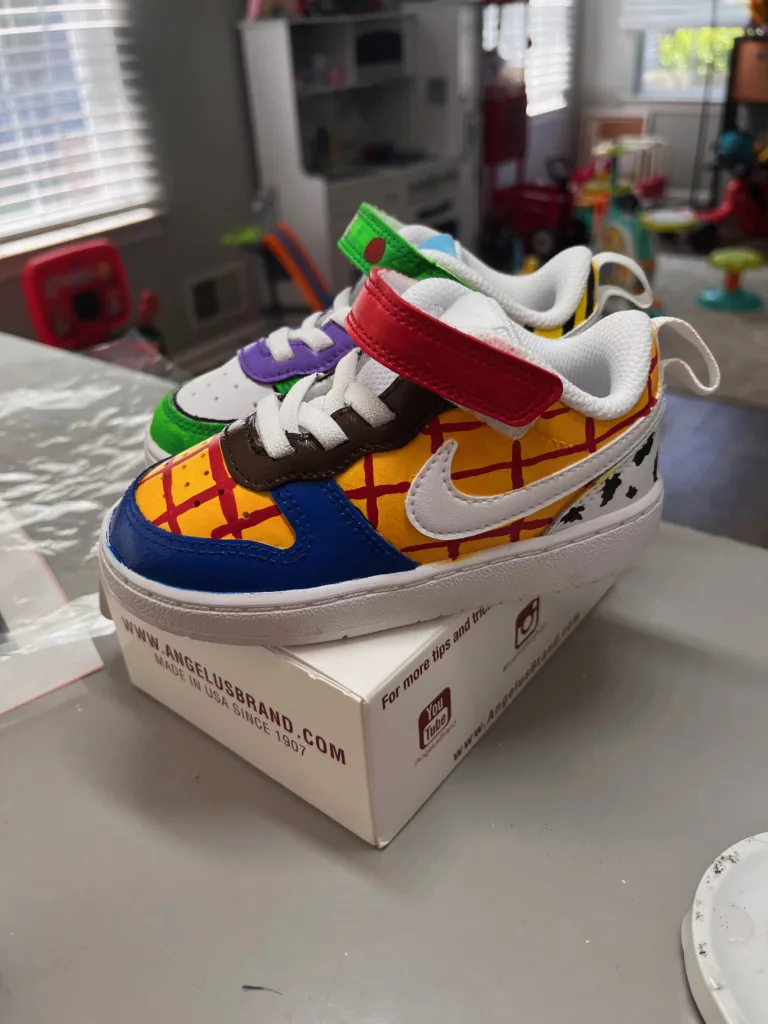
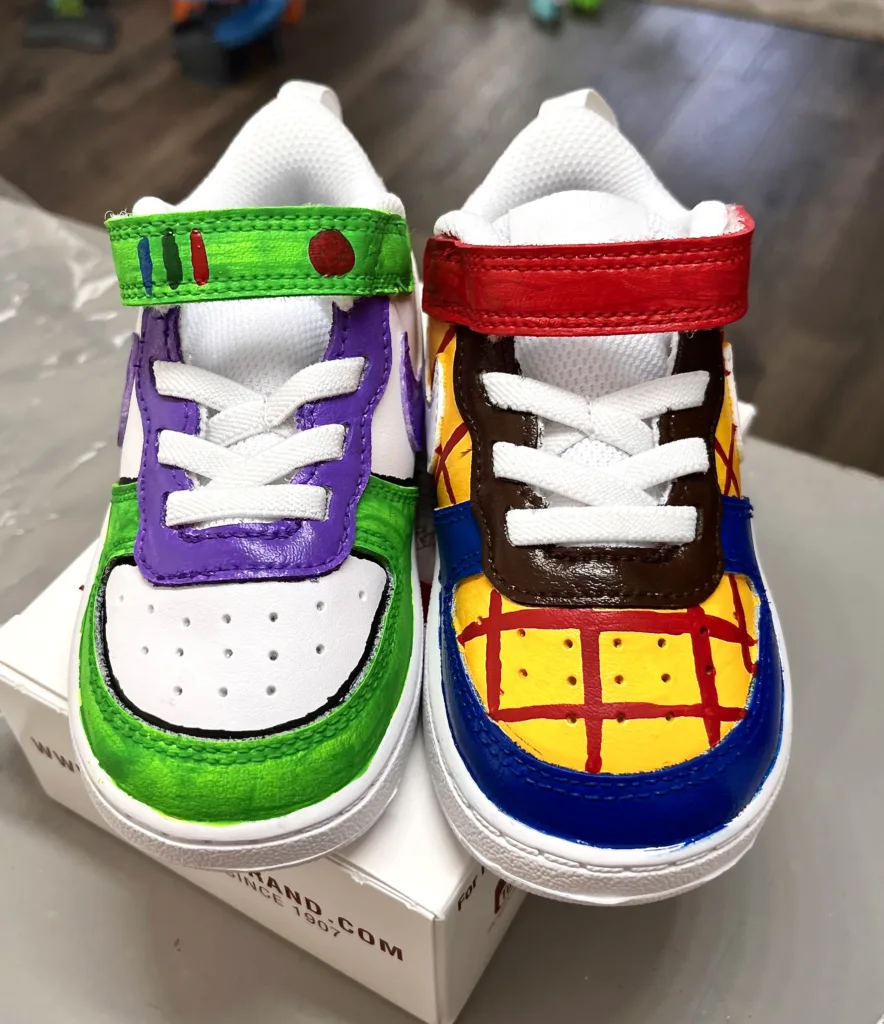
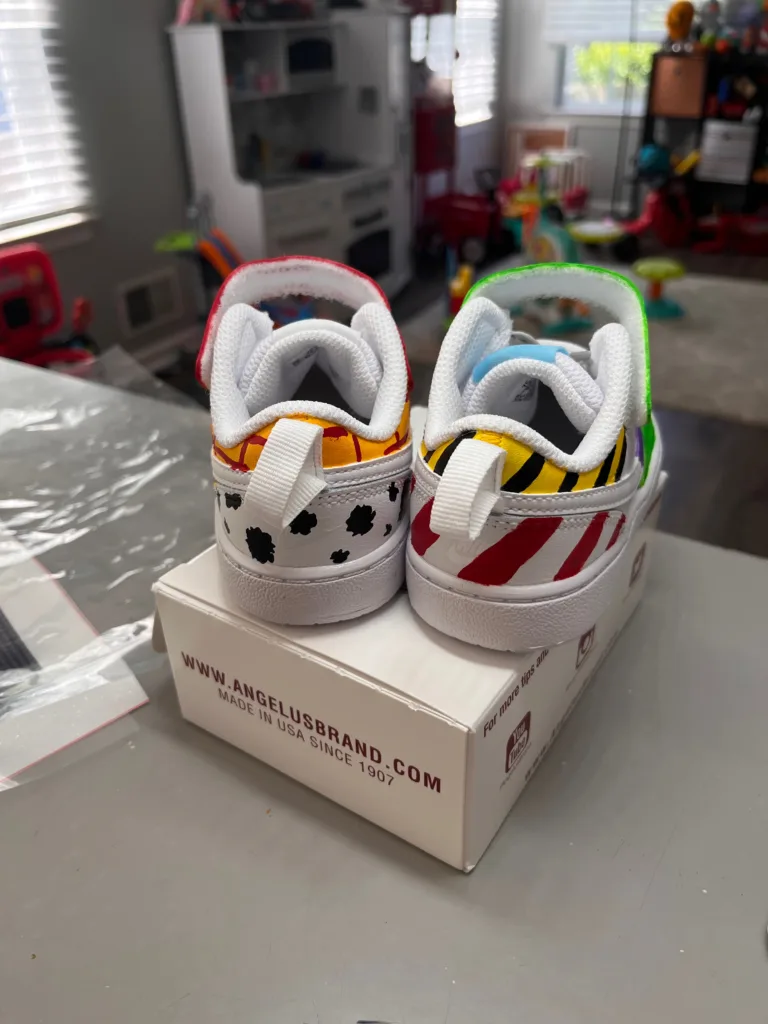
The Final Product
And here they are—the finished, custom hand-painted sneakers! These fun, Toy Story-themed kicks turned out to be the perfect addition to our son’s party outfit. He absolutely loved them, and they were such a special touch for his Toy Story-themed birthday celebration!
Final Touches and Longevity
Once the painting was complete, I made sure to let the sneakers dry thoroughly and allowed the paint to cure for a couple of days. Afterward, I sprayed them with a protective coat of polycrylic to seal the design and ensure it lasted through plenty of wear. As a result, my son wore them all year, and the design held up incredibly well!
If you’re planning a Toy Story-themed birthday party, don’t forget to check out my post on creating a DIY Claw Machine party decoration here.
I hope these sneakers inspire you to create a custom pair of your own for your next themed party. With a little creativity and effort, you can craft something truly special that will leave everyone impressed!